Tag: DIY

DIY

Frugal-nomics DIY: Cashmere Cape Coat

Ok, so I’m going to let you in on a little secret — I’m a fairly newer sewer and my aspirations for a cape coat were a little ambitious. I mean in my mind this coat had great potential for being reversible — after all it worked for my tote bag)! Fabulous in and of themselves,  my fabric choices didn’t quite work together — I found along the way that my plaid tweed added bulk to the lighter cashmere side of the cape. So, I had to do what any good DIY’er would do and salvage the project.  I couldn’t let this beautiful cashmere go to waste?  So, as you follow along you’ll see I begin my step-by-step process with the tweed side, and eventually separate the two pieces after Step #9, and finish up with just the cashmere. Presto, mission complete! Want to see how I end up, take a look below….you’re in for a colorful and fun ride! 

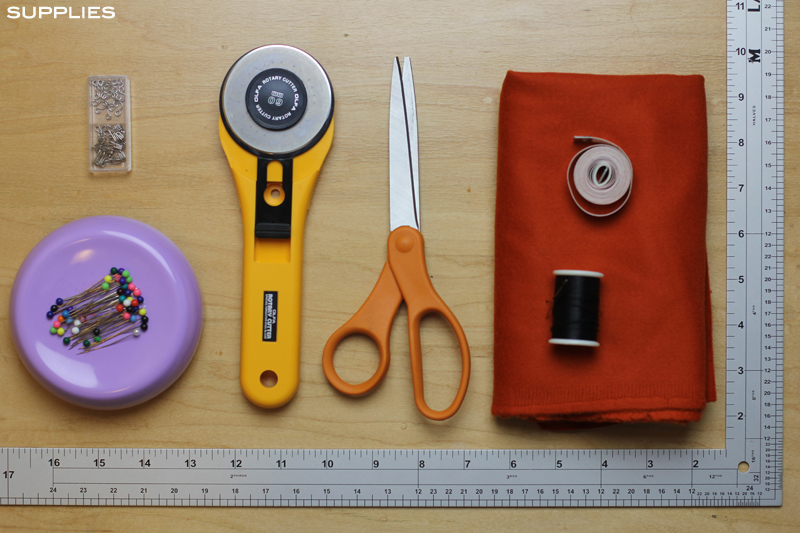
SUPPLIES: a hook and eye, some straight pins, rotary cutter, scissors, tape measure, needle and thread, 2 yards of cashmere, a straight edge, pattern (I used this one from Matter of Style), and your sewing machine.
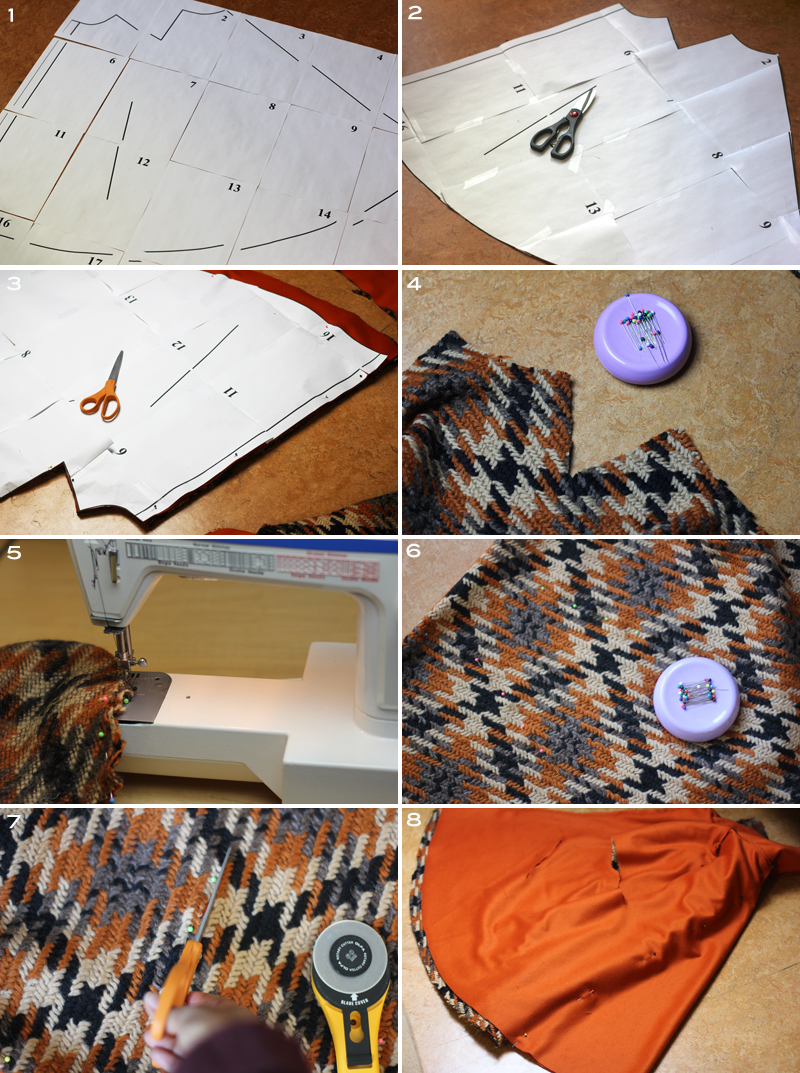
HOW-TO:
1. First thing you do is print out the pattern from here, and lay it out so you can see how it all fits together.
2. The printer margins make the pattern bigger than it has to be, so I folded back the unnecessary parts, taped it together in the desired form, and then cut it all out.
3. Now pin your pattern to your fabric and then cut it out….it will look like this once you are done (I added a couple extra inches to the bottom of mine for good measure).
4. Use your straight pins to pin your shoulder dart.
5. Create your shoulder dart with your sewing machine.
6. Not sure if you can see the pink and green respective row of pins that I used to mark the arm holes and the pockets, but go ahead and decide where you want those and pin it. (Note: In hindsight, in the future I’d probably follow the pattern and make vertical armholes and nix the pockets altogether).
7. Use your scissors and rotary cutter to make the incision and cuts for your pockets and armholes.
8. I wanted mine to fit a little closer to the body than the pattern allowed, so I made a dart down the back from the collar to the hem.
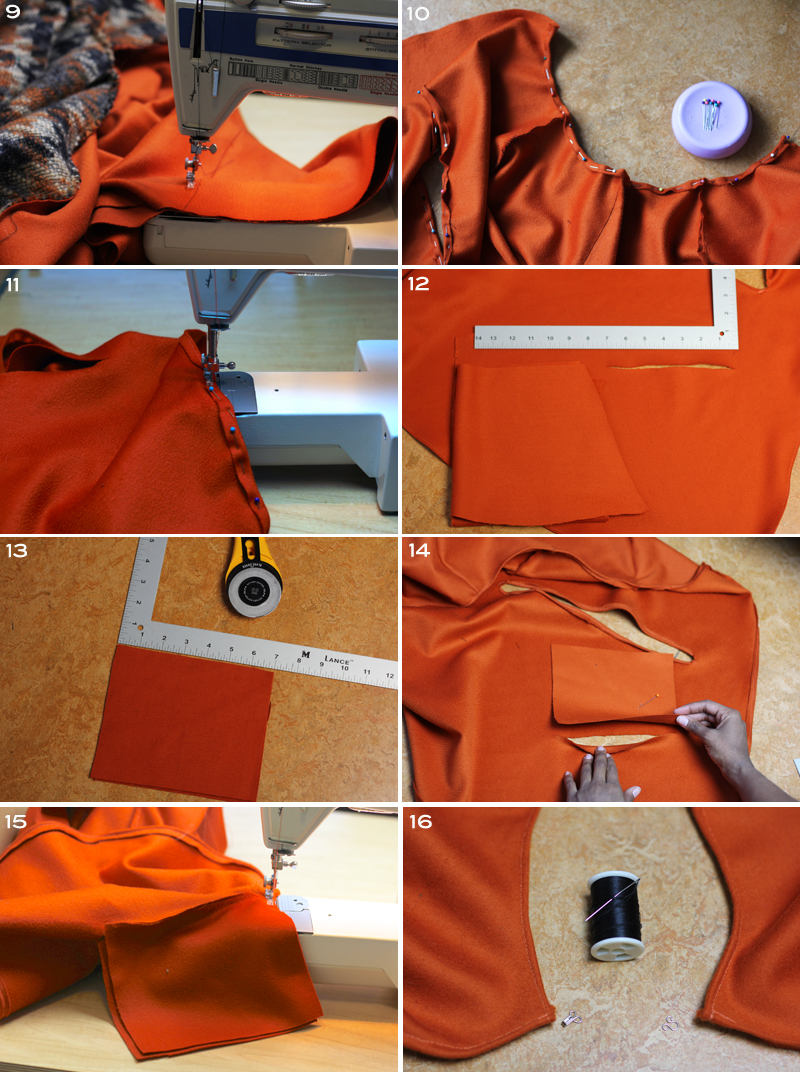
HOW-TO CONT’D:
9. Sew the two darts you created together and cut off the excess.
10. Use your straight pins to create a finished hem around the neckline, pockets, armholes, bottom, and edges along both sides of the front of the coat.
11. Using a 1/4 inch seam allowance, go ahead and hem everything up with your sewing machine.
12. Now it’s time for the pockets…..measure out a square for the length and depth you want your pockets to be that will line up with the incisions that you made for it.
13. Once you decide how wide you want your pockets, double up your fabric and cut out four squares this size.
14. Now it’s time to pin your pockets into place, so first hold down the bottom flap of your pocket, and take your first pocket square and place it right side facing down. Now pin it in place to this bottom flap, and repeat on the opposite side with the top flap (Note: You want the finished fabric to be visible if you were to look inside your pocket).
15. Sew your pockets on, and finish off the edges with your machine.
16. Last step, hand stitch your hook and eye to the upper corners of your two front panels, as a closure. You’re all done!

OUTFITS

Winter Chic


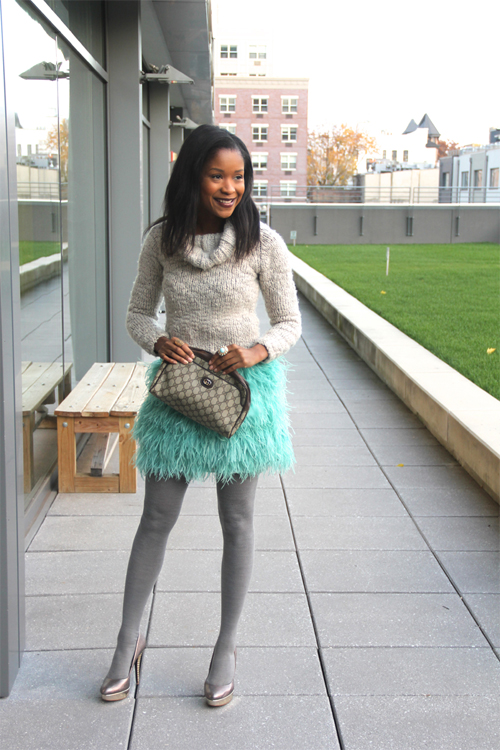
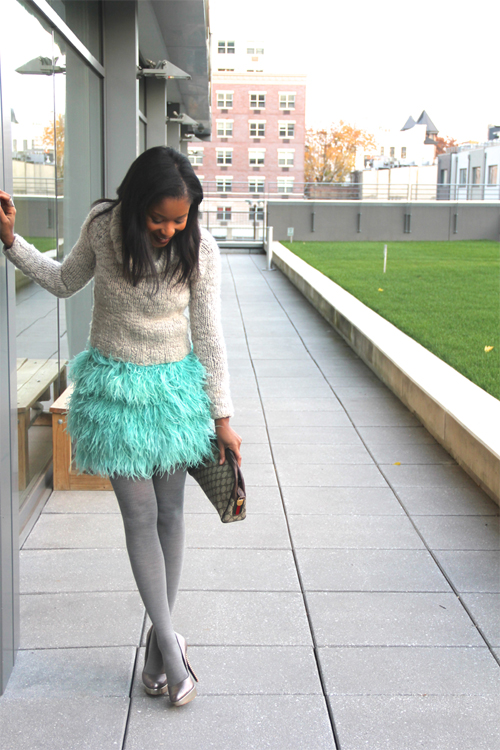
Happy Tuesday guys!!! A couple of weeks ago fellow blogger, Sam at Fabulous Petite, commented on my Ostrich Feather Skirt DIY that she liked it a lot, and I mentioned to her that I’ve been itching to wear it again. True enough, the temps have been dropping here in New York City, but that didn’t stop me from grabbing a chunky sweater and some tights and making one of my favorite DIY creations, winter chic. Tell me how you winterize your wardrobe and what you think of this one, below.

:: OUTFIT::

Mossimo Supply Co :: (Thrifted)
Skirt (my own creation, also seen here)
Tights :: Target
Shoes :: Rachel Roy
Handbag :: Gucci (Thrifted)
Rings :: Charming Charlie

DIY

Frugal-nomics DIY: Hunger Games 2: Catching Fire Inspired Costume

I gotta admit, I’m not a big Halloween celebrator….but get invited to parties and am always up to network with friends and contacts. But what do I wear?  For one party I wanted to wear my No Sew TuTu and go as a ballerina (which I did, and it was a big hit), but wondered “what else was out there for other events?”

Even though the movie isn’t out yet, in my mind I gotta admit that I kept going back to Jennifer Lawrence’s wardrobe in the new Hunger Games 2 movie, Catching Fire. I mean, what’s not to love? She just looks tough….the feathers, the flashes or red—I was immediately sold! I paired my edgy top with a snakeskin pair of black faux leather jeans and ankle boots, and my ensemble was complete. Tell me below what you’re creating for this year’s Halloween costume.

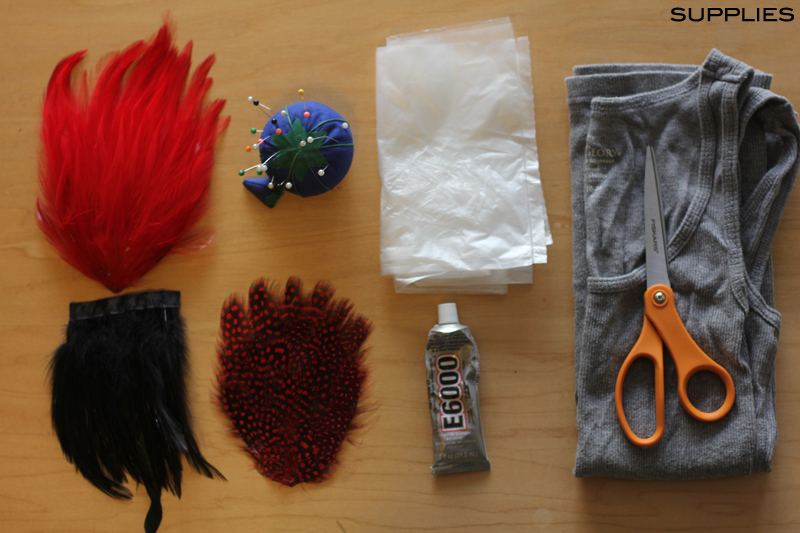
SUPPLIES: Black feather trim (in the end I used about 7 yards), 4 red feather patches, 2 red guinea feather pads, straight pins, plastic garbage bag, e6000 glue, scissors, an old tank top, a zipper, and a needle and thread. 

HOW-TO:
I used a mannequin, but feel free to do this with the tank top lying on a flat surface like I did in my Ostrich Feather Skirt post.
1. To use a mannequin, I suggest first covering the form with a plastic garbage bag so as not to get glue on your mannequin.
2. Slip your top onto the mannequin.
3. Measure your first row of trim by wrapping it around the mannequin, and snipping it at the desired length.
4. Secure one end of the trim to the shirt with a straight pin.
5. Apply glue to the entire band of trim.
6. Wrap the trim you just applied glue to around the form about 1.5 inches from the bottom of the tank, then press it into place, and re-secure it with the straight pin.
7. Start the next row of trim up about 2 inches from the last one….and continue.
8. For the main part of the body I made complete revolutions — using about 6 rows of trim on the bodice alone, going right up to the underarm.
9. I wound up using shorter pieces for the upper chest and top back , but as I finished the main bodice I lined the last piece up against the underarm (Note: It’s a little less noticeable if you opt to use a black tank instead of a colored one like I did).
10. Apply a line of glue to the entire neckline — meaning from shoulder blade to shoulder blade.

HOW-TO CONT’D:
Now, for this part, I didn’t originally intend for their to be a zipper, but when I couldn’t get the costume off my mannequin….I had to improvise.
11. Take a piece of trim and place it on top of the glue line you created around the neckline.
12. It’s now time to do the top back quarter.  So, take a piece of trim the desired size and pull a few feathers out of the band on either side of the trim.
13. Glue this back piece into place, being sure to tuck the tiny tabs you’ve created on either side,  into the tank.
14. Repeating Step #11, glue a row of feathers along the back neckline (Note: I originally only bought 6 yards of feathers, but had to use another spare yard of a different set of black feathers I already had across the top back).
15. Take 2 of your red feather pads and 1 of the red spotted guinea pads and fan them out in the pattern you’d like (Note: here I nestled the red spotted guinea one in between the 2 red ones, but ultimately didn’t like it since I couldn’t get it to look the same on both sides. So, I decided to place the spotted one on top of the 2 red ones).
16. Place some glue on each shoulder, and set the 3 feather pad in place.
17. Hold your “feather pad trio” into place for a few minutes, feeling free to use binder clips if needed.
18. Near the underarms you may have some empty spaces, feel free to glue some smaller pieces into these vacant spots where you may see your top. Then allow the whole thing to dry for at least 3 hours.
19. Take your scissors and cut your top up the entire back.
20. Using straight pins, hem your back edges about an inch on either side.
21. Again, using your straight pins, pin your zipper into place on either side of the back edges.
22. Hand stitch your zipper into place, and voila — you are all set!