Tag: DIY

DIY

Frugal-nomics DIY: Gold Coins Necklace

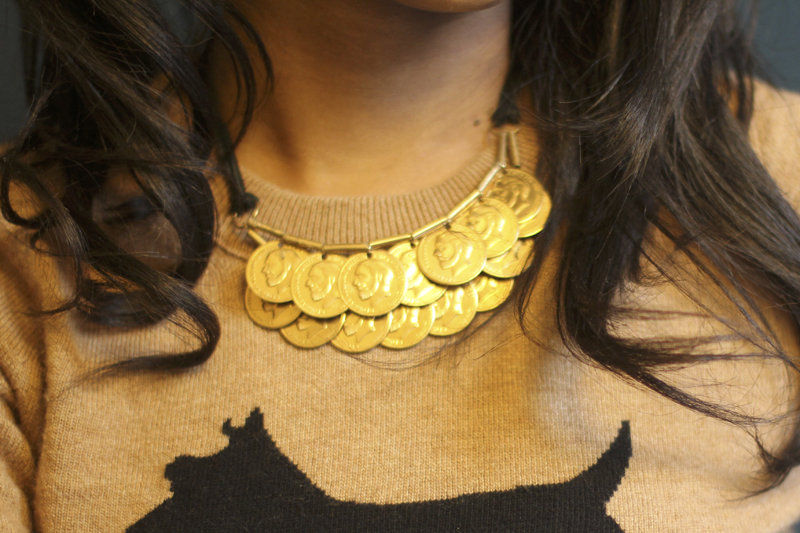
A while back I came across a necklace called Loose Change made by Anthropologie — I was immediately taken by the piece’s simple construction and high potential for versatility. While their coins were textured, they were plain and I wanted my coin pendants to have a little more character. So, when I  came across these gold coins at Mood I knew I’d found just the foundation I needed to complete it. A few supplies, and a little suede cord and I was well on my way. Tell me what you think below.

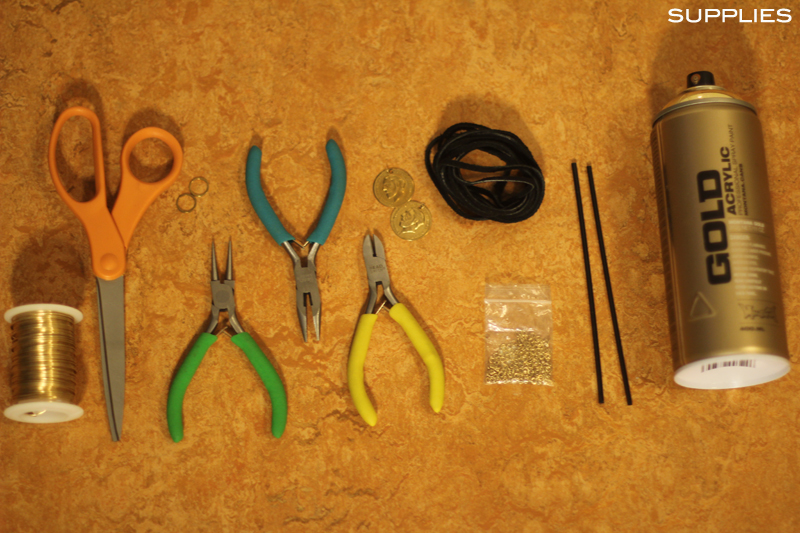
SUPPLIES: some gold wire, a pair of scissors, (2) 1/4 in findings, pliers (2 pairs, help), wire cutters, 15 gold coin pendants, suede cord,
a few cocktail straws, packet of tiny findings, can a spray paint, and some newspaper for easy cleanup.
HOW-TO:
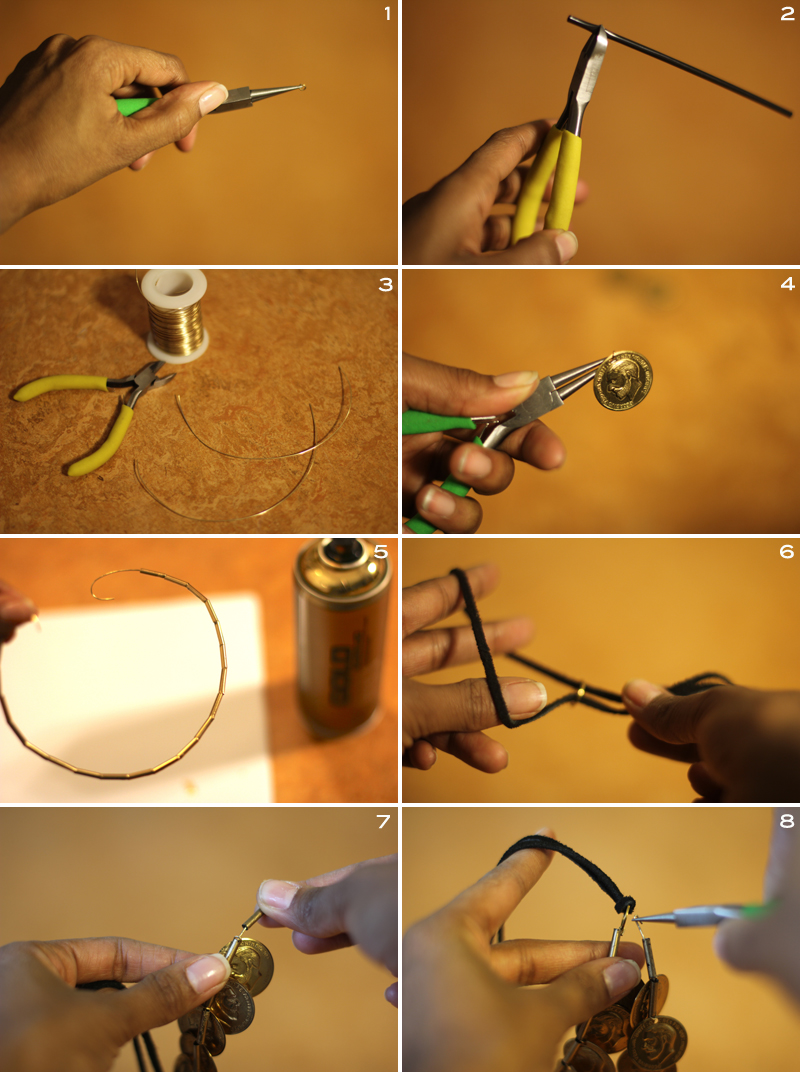
1. Ok, first you’ll take both sets of pliers and open up the tiny findings that will attach each of the 15 coins.
2. With your wire cutters, snip your cocktail straws into 1/2 inch pieces — I cut about 17.
3. Cut 2 pieces wire — one slightly longer than the other (about 1.5 inches).
4. Now attach the findings to the coins, and then close them back with your pliers.
5. I cut another long piece of wire and slipped all my pieces of straw onto it, and then sprayed them with gold spray paint.
(Note: I suggest letting them dry overnight).
6. Take your 2, 1/4 in findings and slip knot your 2 pieces of suede cord through them both.
7. Alternate gold coins and straw pieces on your 2 pieces of wire — 7 coins on shorter wire, and 8 on the longer.
8. With your needle nose pliers, bend the ends of the wire onto the findings.
DIY

Frugal-nomics.com DIY: Sweater Mittens

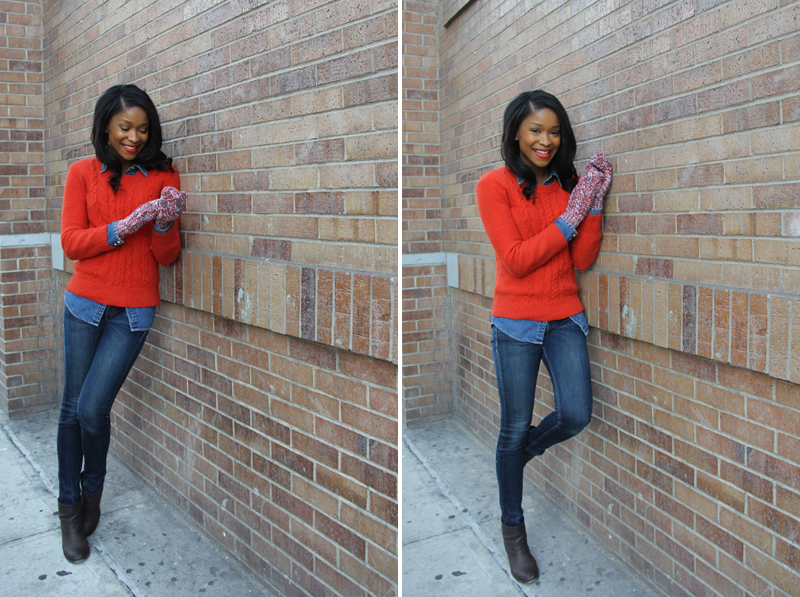
When will the snow end? I’m sure I’m not the only one who is absolutely over it at this point. But, I am a firm believer that the added bulk in layers doesn’t mean we have to compromise our fashion sense. Want a cute way to stay warm that doubles as a quick way to repurpose those old sweaters? Check out my How-To below.


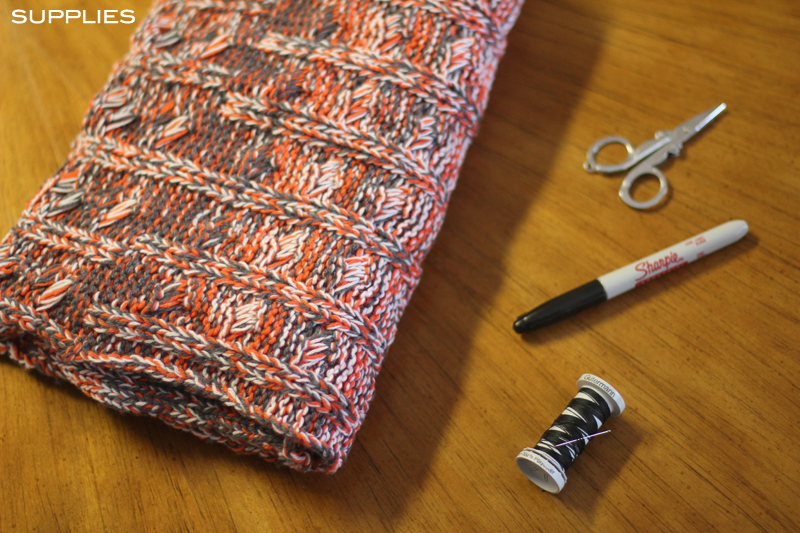
SUPPLIES: An old sweater or some sweater knit material, scissors, marker, and ideally a sewing machine if you don’t want to hand stitch like I did. 

HOW-TO: 
1. Take your retired sweater or rectangle of sweater material with the finished ribbed edge at the bottom, and lay it flat on the table in front of you, right side facing up. Next, take the two outer edges and fold them inward until they meet at the center (Note: the wrong side will be facing you).
2. Place one of your hands down on the fabric with your thumb open an extended, and loosely trace your hand (Note: you’ll want about half an inch room around your hand).
3. Here I hand stitched around the black outline of the hand I created. But, for added security for gloves that will last, I suggest quickly running them on your sewing machine.
4. Last but not least….leave about 1/4 inch room around the perimeter of your hand, cut out this figure, and then turn your gloves right side out. You’re all set!

DIY

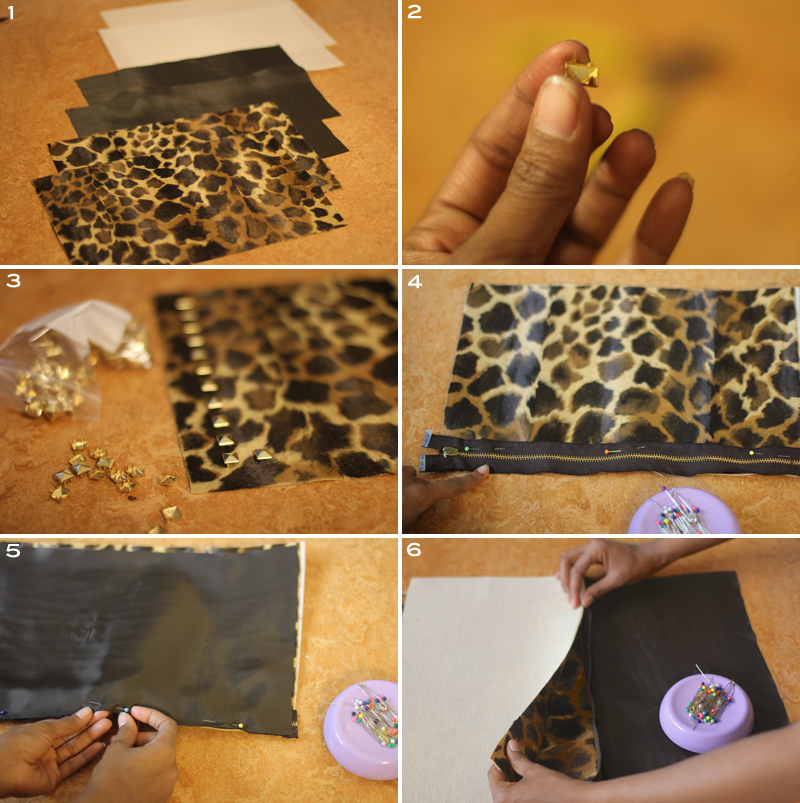
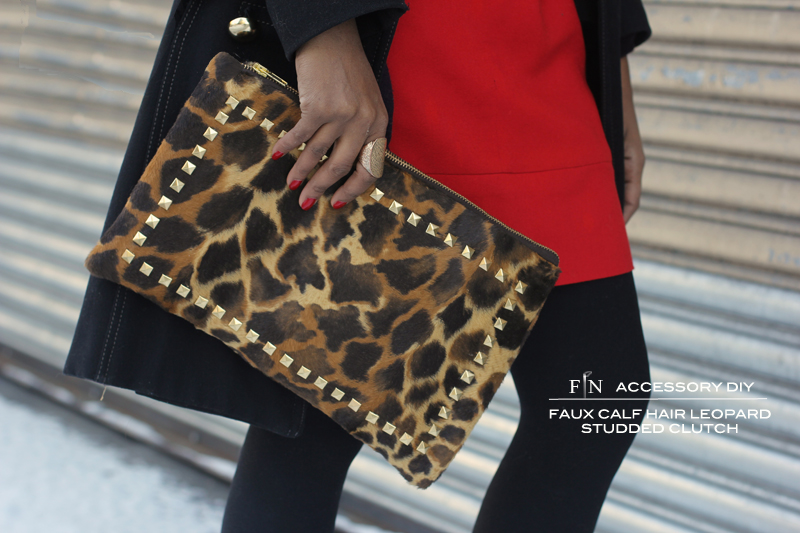
Frugal-nomics DIY: Faux Calf Hair Leopard Studded Clutch

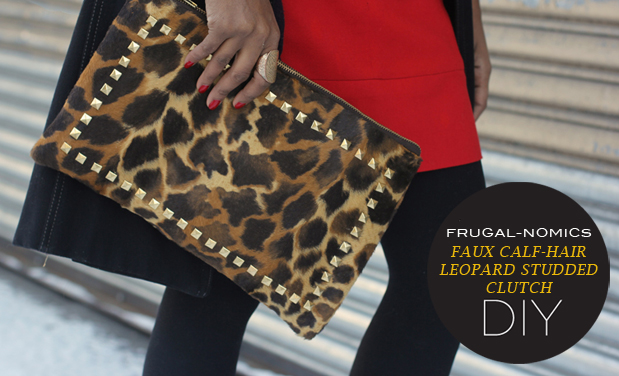
One of my absolute favorite style bloggers is Wendy of Wendy’s Lookbook, and while perusing her site one day, I came across this gorgeous calf hair leopard-printed studded Valentino clutch that was simply stunning. So, I came across this great faux calf hair leopard-printed fur while I was grabbing the faux fur I used for my vest, and immediately knew what I’d do with it. Tell me what you think below.


SUPPLIES:
1/2 yard faux calf fur, 1/2 yard of silk lining, interfacing, a zipper, wire cutters, straight pins, about 70 pyramid studs, a rotary cutter, a straight edge, a thimble, and a sewing machine.

HOW-TO:
1. Cut (2) 14 x 9in rectangles of each of the faux fur and interfacing, and (2) of the silk lining 14.5 x 10in.
2. Use your wire cutters to remove all but 2 prongs (on opposite ends) from each of your pyramid studs (Note: it’s a little tedious, but glue wasn’t as secure as I would have liked, and if you leave on all the prongs, they rumple the fur).
3. While I did this step last, I’d like to suggest here that you apply your studs…because once you get it all sewn together it’s a little trickier to fold down the backs of the studs from the inside.
4. My zipper was a little too long, so I cut it down like I did here. Then I used my straight pins to secure it to one of my faux fur rectangles, face down.
5. I had to wrap my brain around how to attach lining and top fur….so I played with the concept on how to attach them both. So, while my faux fur was attached to one side of the zipper, I flipped the zipper over and pinned my hemmed silk lining to the “wrong” side of the zipper.
6. I laid it all flat here so you could see me attach the 2nd layer of fur to the “right” side of the zipper, with lining on the reverse.

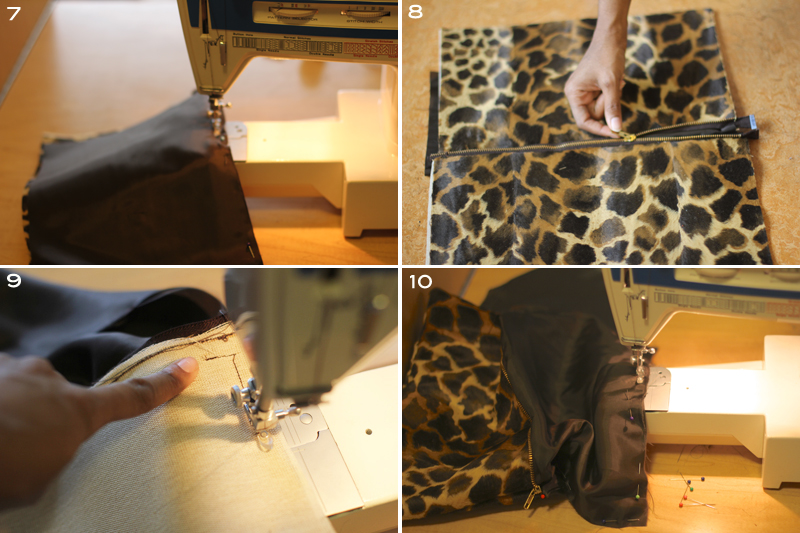
HOW-TO CONT’D:
7. Sew your fur and lining respectively to your zipper.
8. This is how it looks thus far.
9. While sewing up the sides of my bag, I added the little 90 degree notch so zipper could be inset (like I did here with the throw pillows).
10. Last but not least, I pulled the lining out of the inner portion of the handbag, and stitched across the bottom (Note: you may have to pull it over the lining to sew the sides of it on the wrong side).