Category: DIY

DIY

Schermerhorn TShirt Necklace DIY Workshop


Happy Wednesday guys!  I have been gearing up to do more DIY Workshops, and I wanted to share one that I did for my recycled tshirt necklace.  The ladies at the Schermerhorn were great to work with and really chose some beautiful tshirts that made necklaces that really popped!  Want to see more workshops or even participate in one? Visit my gallery page and tell me which workshops you’d like to see me do/attend. Enjoy the rest of your week!

DIY

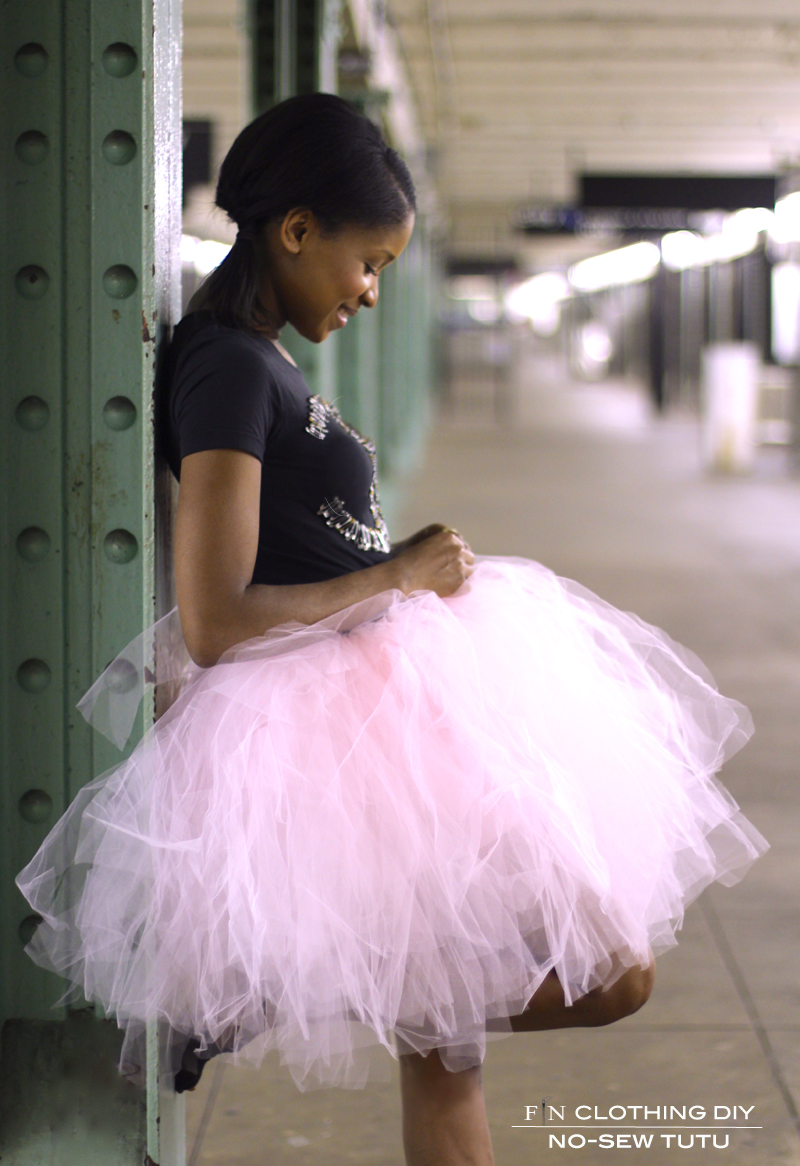
Frugal-nomics DIY: No Sew TuTu

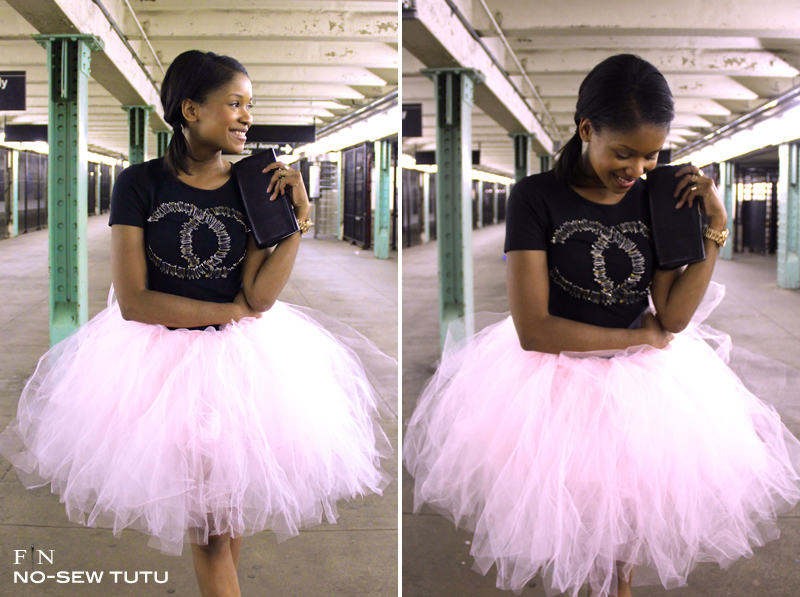
I live near a ballet studio that caters to kids, and as I pass by the window while the little girls are often rehearsing…I can’t help but to admire how absolutely adorable they look in their tutus.  While I personally never took up ballet as a kid….doesn’t every girl wanna twirl around in a big poofy skirt?  So, go ahead….channel your ballerina — an homage to Carrie Bradshaw if you will. I wore mine with my Chanel Safety Pin Shirt that I made here.  Here’s a no sew tutu tutorial that will help you get the look in no time!


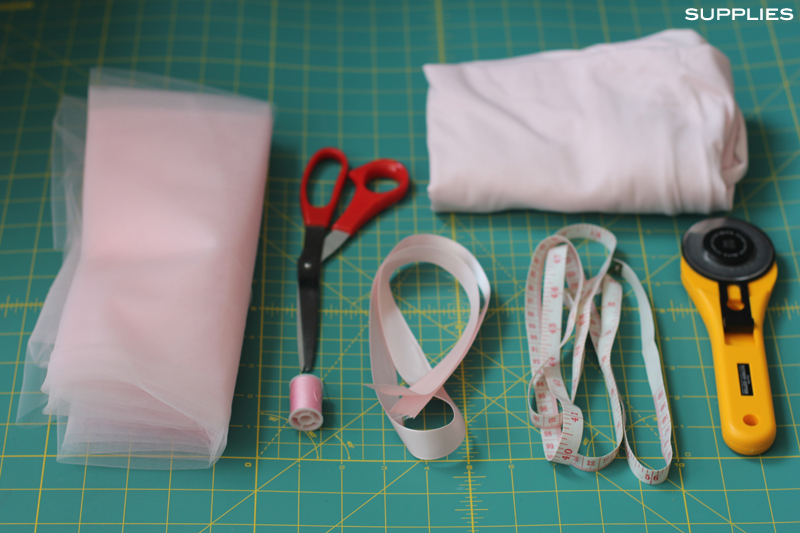
SUPPLIES:  Tulle (I used about 20 yards…but feel free to use less, just depends on density of skirt you are looking for), scissors, 1/2 yard of jersey knit, needle and thread, 2 yards of satin ribbon, tape measure, and a rotary cutter.

HOW-TO:
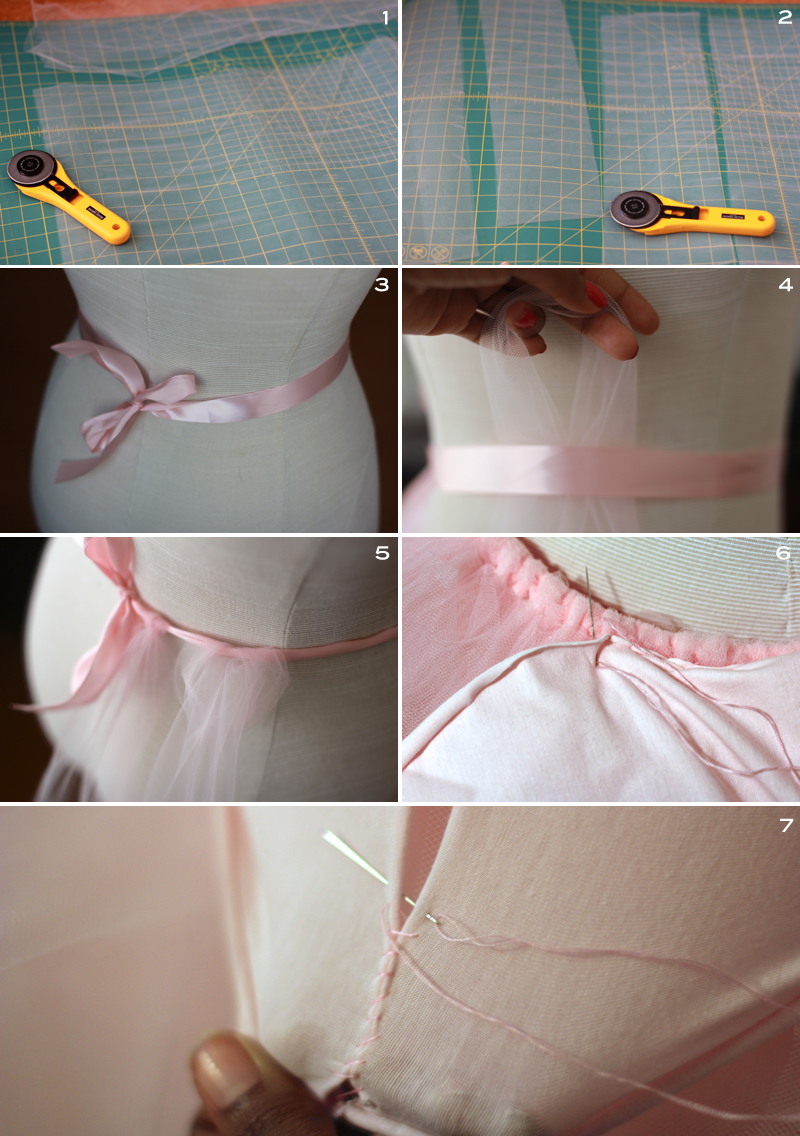
1. Wanting my skirt to be knee length, I folded the tulle in half because it was too wide.  I then opted to stretch it out and cut off about 9 inches off the open bottom (not the folded side) all the way across.
2. After you do this….you are all ready to cut your folded tulle into 4-5 inch strips — feel free to eyeball it.  (Note: I didn’t know I’d need so much tulle. I first bought 8 yards and cut it up into strips, but wound up going back for about 14 more yards just to be safe).
3. Cut a piece of ribbon about 4 feet long and tie it around your mannequin (Note: Don’t have a mannequin? No problem, just take a seat and stretch it around your knees).
4. Take each one of your strips and pull it up through your ribbon and mannequin to create a loop.
5. Pull the loose ends of the ribbon up through the loop you’ve created with the ribbon, and pull taught.
6. After you’re done adding tulle, now it’s time to create a faux skirt to go underneath.  (Note: I cut a piece of my jersey knit about 13 inches wide and 45 inches long).  Flip your tutu over and re-tie it to your mannequin, and begin stitching the “lining” to the waist band of the tutu.
7. I started my “lining” right at the ribbon closure, so I could end there as well.  Once, I got back around where I started, I hand stitched the “lining” only half way up the back– that way I can get in and out of the skirt. Voila! You are all done — no sewing machine needed.


DIY

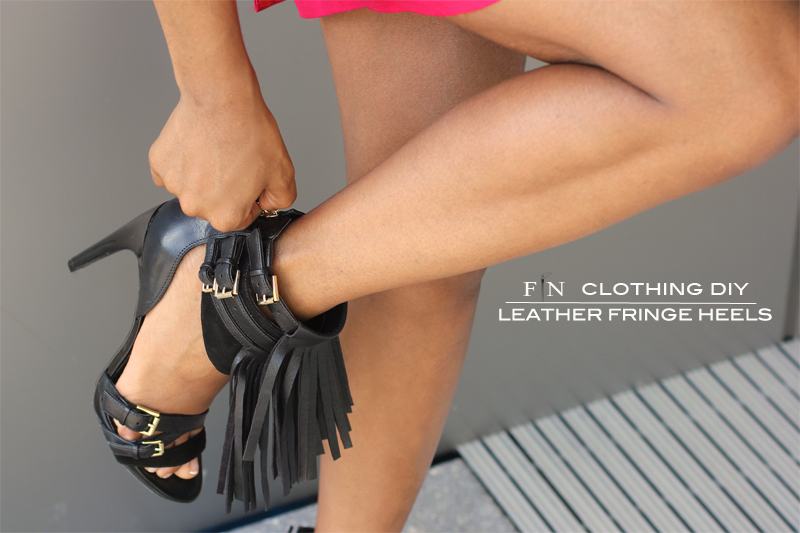
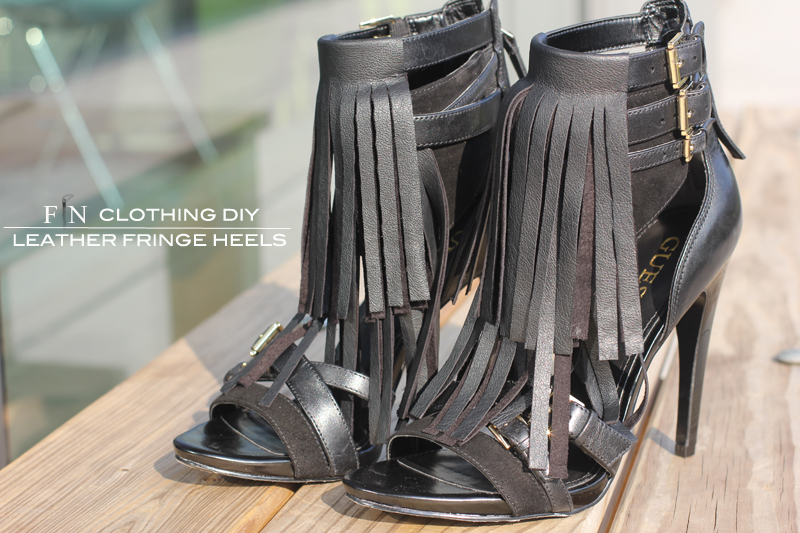
Frugal-nomics DIY :: Fringe Heels

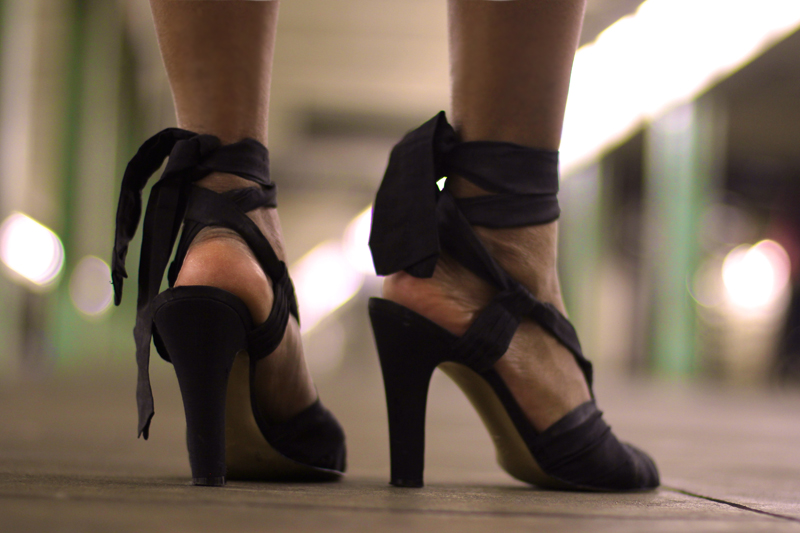
As I spend more and more time shopping for clients as a personal stylist, I can’t help but notice that leather accents are everywhere for fall — shirts, shoes, shorts….you name it….it’s there.  So, I thought it’d be fun to dress up a pair of heels after seeing this tribal chic pair made by Sergio Rossi (seen here retailing for over $1200 — yes, you read that right).  They’re chic and definitely eye catching! What more can a girl ask for? Tell me what you think.


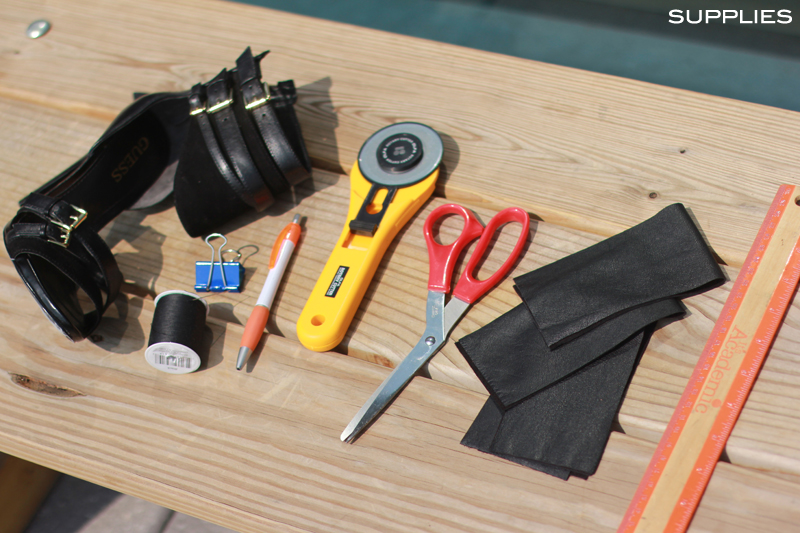
SUPPLIES:
a pair of strappy heels (you can always start with one ankle strap and make more), needle and thread, binder clip, pen, rotary cutter, scissors, leather (or faux leather), and a ruler. 

HOW-TO: 
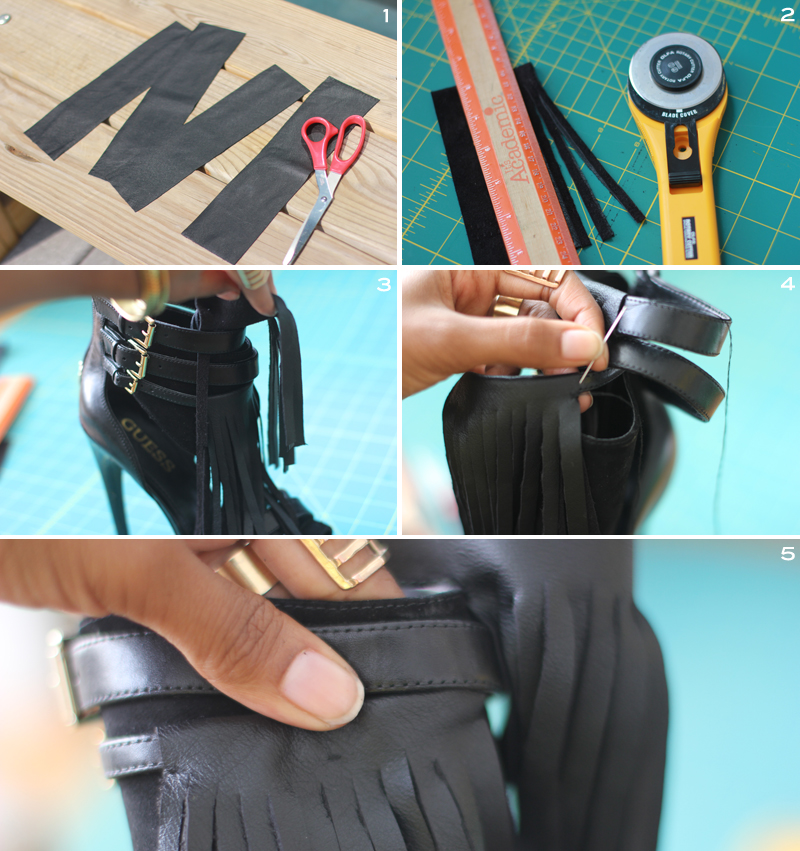
1. Cut 4 pieces of leather (My bottom two measured 10 3/4 in x 2 3/4 in, and the top two were 10 in x 2 3/4 in — but feel free to make all four the same length if you’d like).
2. Fold your leather in half, wrong side facing out. Then use your rotary cutter to create the fringes. Feel free to use your pen to measure each fringe if you want; I just eyeballed about 1/8 in all the way across. Do this to all four pieces of leather. (Note: Be sure to leave yourself some room and NOT cut the fringes all the way up to the top).
3. I placed the longer fringe piece over the lower ankle strap, and then placed the shorter one on top.
4. Using your needle and thread; make short stitches in the left, right, and then middle of the fringe to hold the casing in place.
5. Here’s a close up of how my 3 stitches look.