Category: DIY

DIY

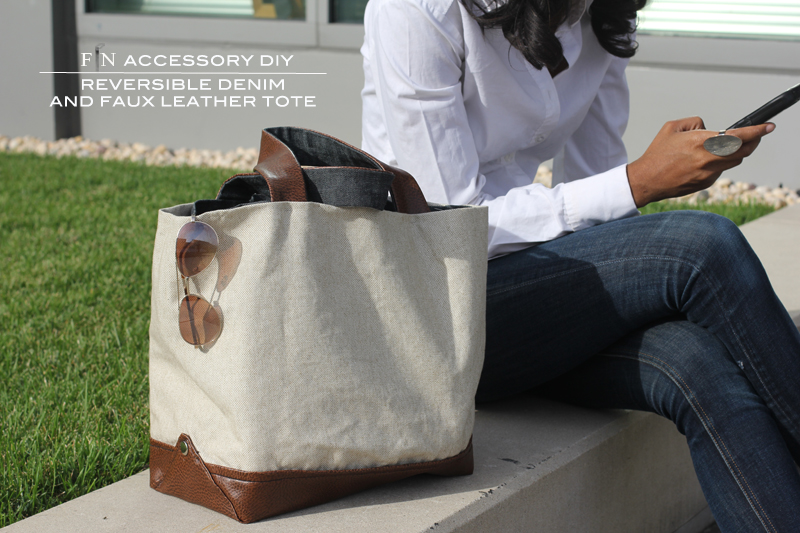
Frugal-nomics DIY: Reversible Denim, Leather, and Canvas Tote

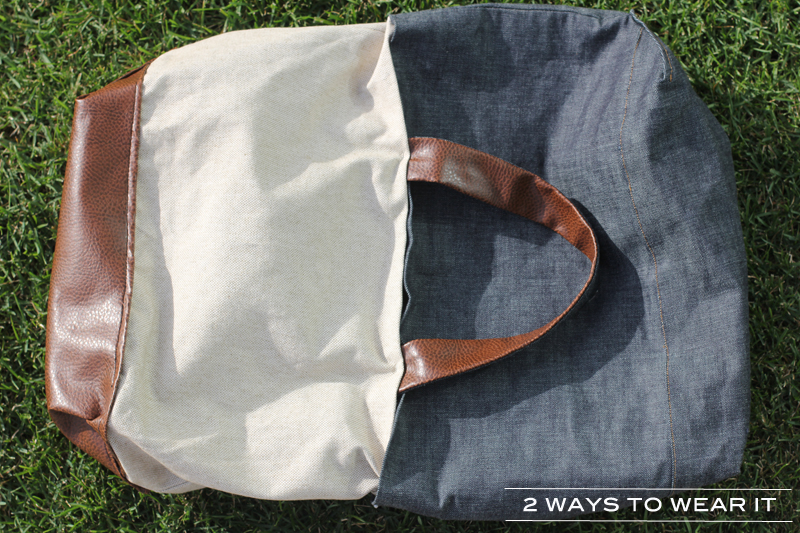
So, the way I see it, I’m always a source of free advertising — a walking billboard if you will — for other companies; there’s my Marc Jacobs tote that I will carry til it falls apart, or I have a few random totes in my closet that I carry in addition to my purse daily. Because let’s face it…living in this city and being a freelancer you have to be prepared for everything on a moments notice. I carry stuff like my makeup bag, my iPad, extra shoes and outfits to switch things up for castings and auditions (and I wonder why my purse feels like I’m carrying a bowling ball). So I thought, why not support my own efforts? So, that’s just what I did here — I made my first very own tote which you’ll see complete with my logo and all below. Chic on one side, cool on the other. Wanna see how I did it step-by-step, check it out below!


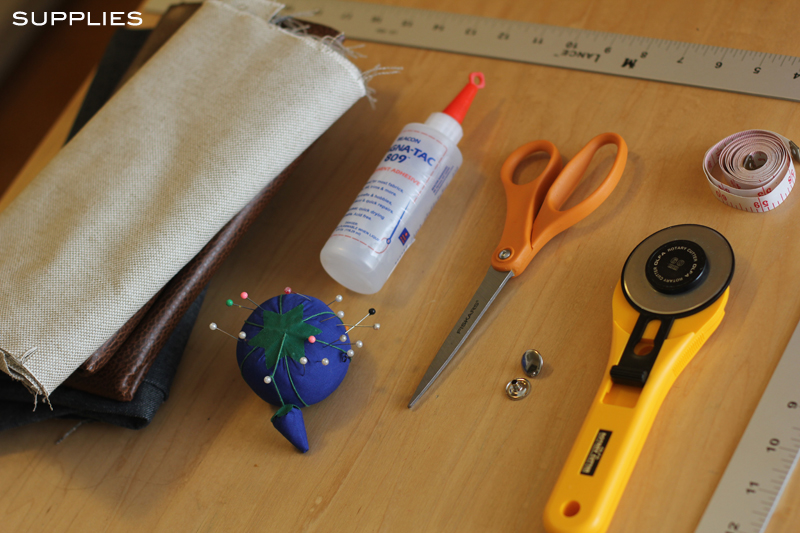
SUPPLIES: 1 yard of denim, 1 yard of canvas, 1 yard of leather or faux leather, glue, straight pins, scissors, rotary cutter, tape measure, snaps straight edge, iron, and a sewing machine.


HOW-TO:
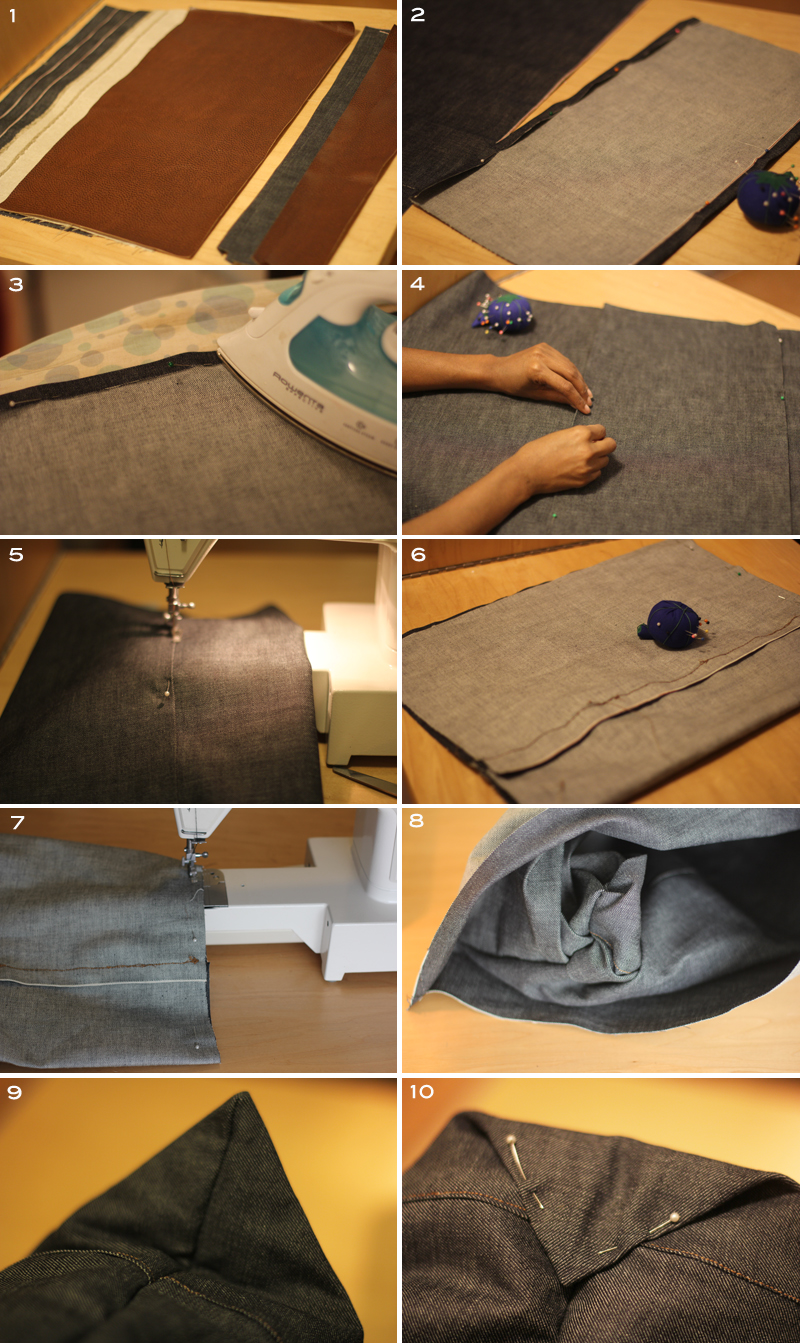
1. Take your rotary cutter and cut out 6 rectangles — you’ll need all 6 rectangles to be 21 inches x 11 inches each (3 denim, 2 canvas, 1 faux leather. Then you’ll need rectangles for your handles, 2.5 inches x 21 inches — 2 denim and 2 faux leather).
2. Pin down 1/4 seam allowance on both sides of 1 rectangle — this one will serve as the bottom.
3. Iron these down.
4. Pin this bottom to both side panels on either side — I pinned about 2 inches from the bottom of each one.
5. Now sew the 2 side panels to the bottom.
6. Now that you’ve sewn together both side panels and the bottom, take this giant rectangle you’ve created, in half with the right sides facing and pin up both sides.
7. Sew up the left and right sides you just pinned.
8. Now you have a pocket — you’re getting close! Turn it right side out.
9. Pinch the bottom corners together like I’ve shown you here, to box out the bottom of your handbag.
10. Pin the point of your corners you created, to your bag.
 

HOW-TO CONT’D
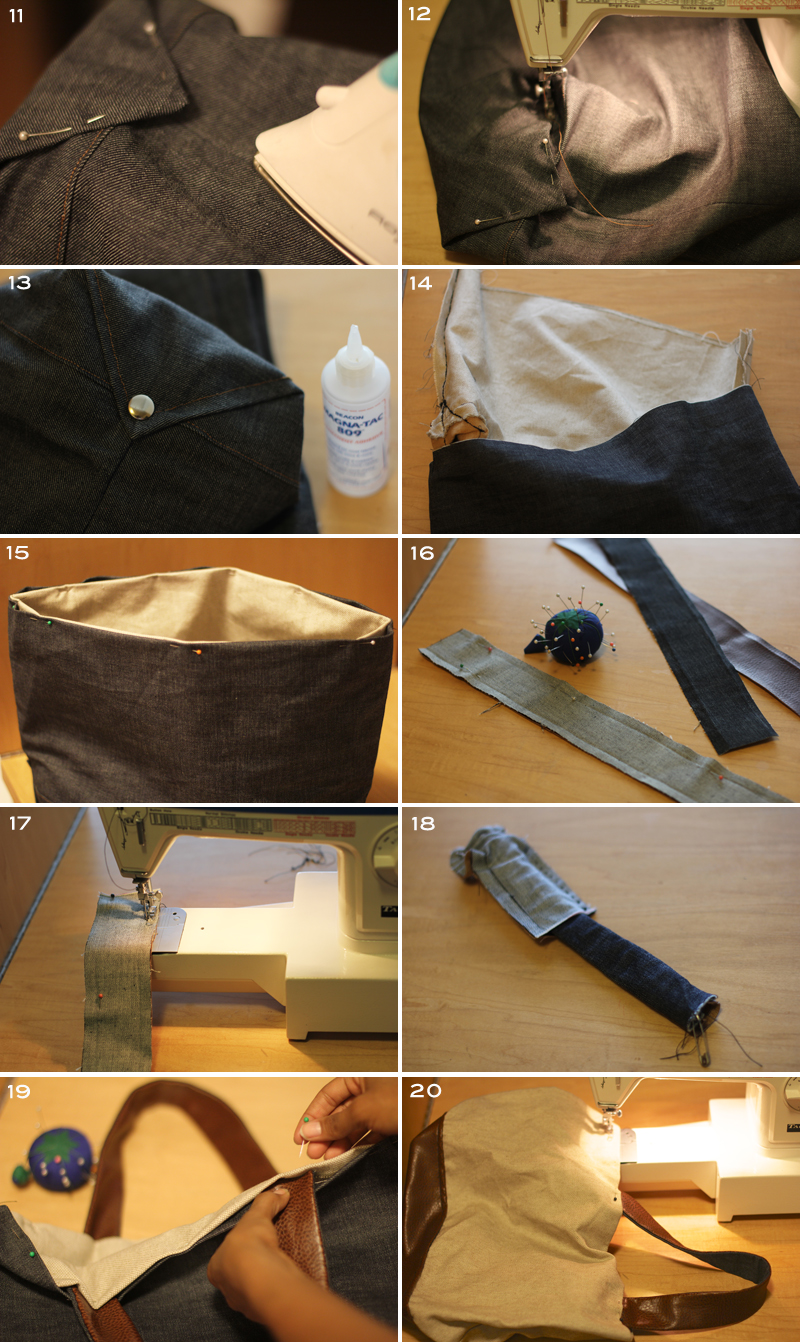
11. Your bag is really coming together!  But, now would be a good time to press out those side seams with your iron to make it look really polished.
12. Ok, now for the fun part! Put the bag on your machine and sew these 2 bottom points to the body of the bag.
13. I found these snaps in some of my stuff and didn’t think to put them on before I sewed the points down….so you can either do it the right way, or glue them in place like I did, here.
14. Repeat Steps #1-13 for the canvas and faux leather version, and then place one side inside the other, wrong sides facing.
15. Fold down about a 1/2 in seam allowance on both bags, and pin them into place.
16. Now that your 2 bags are created, it’s time for the handles.  Take 1 denim and 1 faux leather, and place them together right sides facing — pin them together.
17. Sew about an 1/8 in seam allowance on both sides of each handle.
18. It’s going to take some wiggling, but stick a safety pin in the denim and use it as a guide to aid you in turning the handle to the correct side. Repeat for second handle.
19. You want to place the handles between the 2 layers; so peel open the panels, stick the handles in, and pin them in place.
20. With an 1/8 in seam allowance, make 2 stitches around the top perimeter — and you’re all done!


When I took the project to the screen printing store to have the vinyl lettering applied, I was informed that I wouldn’t be able to have the faux leather pressed under their machine, or it would burn. So, I returned with just a piece of canvas and left the denim version as is.  With a little time to think it over, I thought that if I had to redo the bag anyway, I might as well make it as durable as possible, so I picked up some real leather. Not wanting to spend the $200+ on an entire leather skin, I rummaged through a bucket of remnants and found a piece of light tan leather  that would work perfect and was a fraction of the cost  (only $45)– but I wasn’t crazy about its color. So, I purchased it along with some leather spray and got to work.  I lightly applied the spray and distressed the leather a bit with my fingernails — perfect! Tell me what you think ofthe finished look of my reversible bag.
DIY

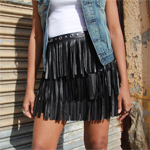
Frugal-nomics DIY: Leather Fringe Skirt

I’m often asked where I get my inspiration from for my DIY projects, and the honest answer is….”everywhere.”  For this one in particular, I was doing a modeling job one day for a clothing company recently when one of the designers came in with a leather fringe skirt, and I thought….I love the rock and roll edge, gotta have it!  So, in addition to the leather fringe heels I made here (which I won’t be wearing at the same time as the skirt, just an FYI) I wanted to add another cool leather piece to my wardrobe as we get further into fall, and this was a quick and easy addition.

Want to know how to wear it?  Just add some tights and a chunky sweater and you’re all set. Tell me what you think below.


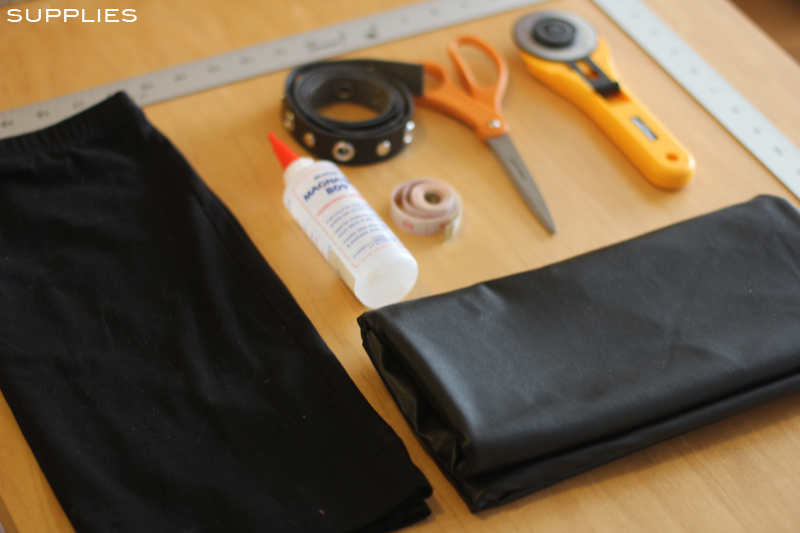
SUPPLIES: Skirt (I got paint on me one day in the subway on my way to a modeling job — long story — so I picked this one up for like $5 at H&M), faux leather, leather studded trim, a straight edge, glue, rotary cutter, scissors, and a tape measure.


HOW-TO:
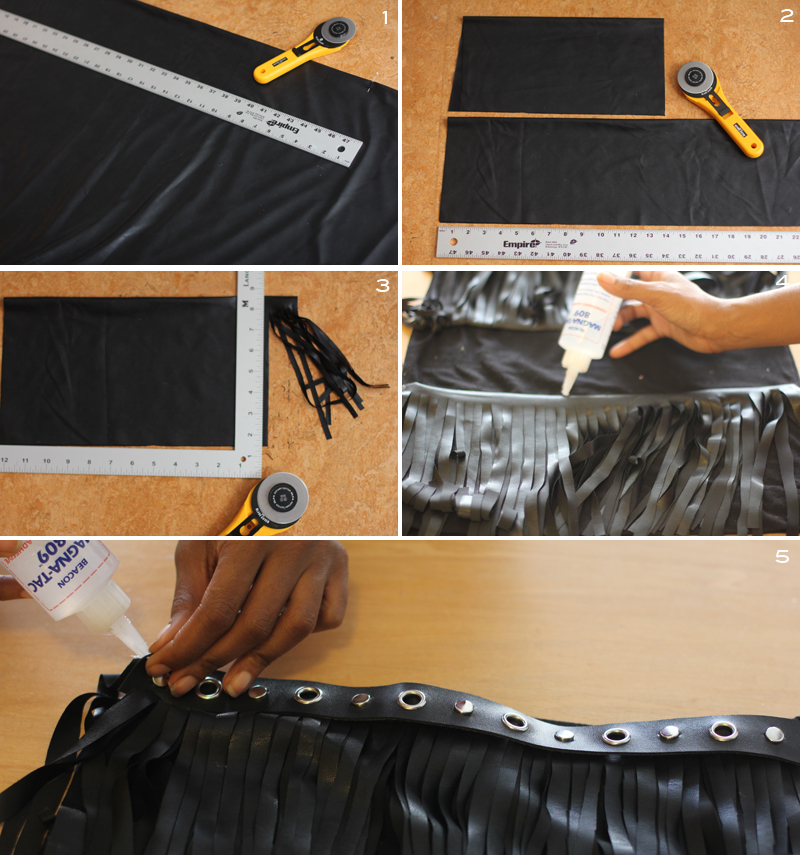
1. First step, fold your faux leather in half and stretch it out on a flat surface.
2. Measure the length of the front of your skirt, seam to seam (mine was about 14 inches across).  Then cut 3 sections of the folded faux leather, each 7 x 14 inches. The length is determined by the length of your skirt, and you may want to be a little more generous with the width to avoid my mistake I made of it being too short once you put it on).
3. Leaving the folded edge across the top, cut each of the 3 sections into 1/8 in strips with a 1/2 in seam allowance (so, don’t go all the way up to the top).
4. For safety, lay out the 3 sections before you glue them down. Once you know where you want them to go, start from the bottom and put a line of glue across top seam of 1 of your sections, and press it down into place. I let my fringes hang about 1.5 inches over the skirt’s hem. Repeat this for the other 2 sections — ending directly on top of the waistband.
5. Lastly, measure the width of the waistband of your skirt, cut a piece of trim the desired length (again, try it on before you cut), and then glue it into place. Presto! Quick, easy, and more importantly — no sew!

DIY

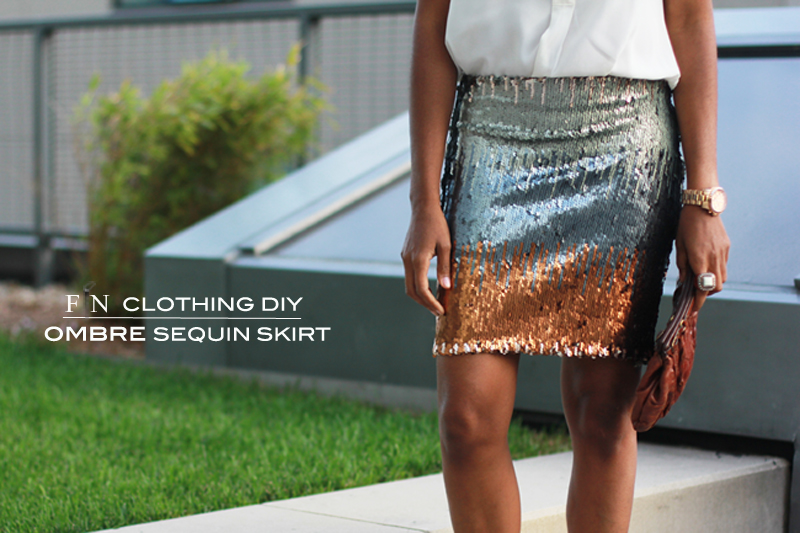
Frugal-nomics DIY: Ombre Sequin Skirt

I’ve been totally snatching up anything sparkly these last few months, and I immediately fell in love with this ombre-like sequin fabric when I found it recently.  I’ll admit, it takes a little work to finish the edges of things you make with sequins (like this Rihanna inspired top I made here), but they are certainly stand out pieces that will be memorable closet keepers. Tell me what you think below.


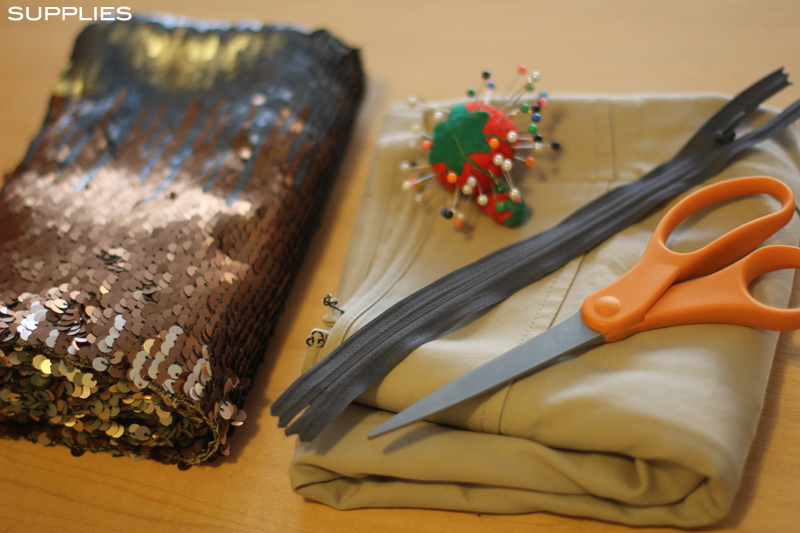
SUPPLIES: 1 yard of ombre sequin fabric, some straight pins, an invisible zipper, scissors, and a skirt you already own with a shape you like.

HOW-TO:
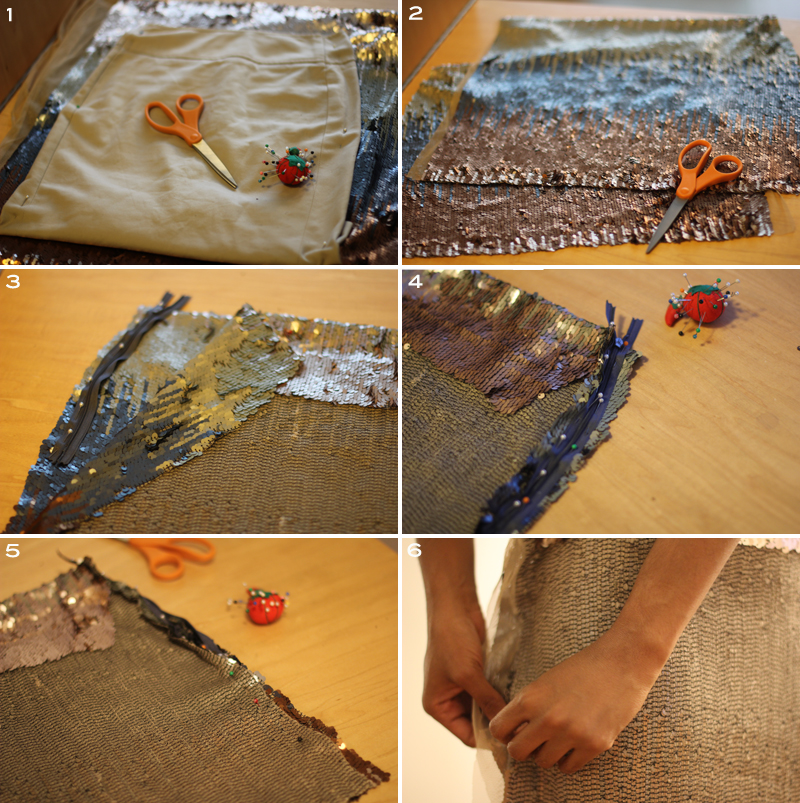
1. First up, fold your fabric in half and lay a skirt you love on top of it to create your own pattern.
2. Now, go ahead and cut out the 2 forms of the pattern you just created.
3. Place those 2 forms together — insides facing — and pick the side where you’d like to place your zipper.  Open up the two forms, and giving yourself a 1/2 inch seam allowance, pin the zipper on one side of the form, being sure to start close to the top of the waist band. (Note: I liked more of the rust color on the bottom, so I folded down quite a bit at the waist to center my desired design).
4.  Once one side of the zipper is in place, go ahead and flip the skirt over and pin the 2nd half, down.
5. Close up the remainder of the zippered side of the skirt with straight pins.
6. It was easier for me pin the correct shape with the skirt on, so I slipped it on to pin the opposite side. 

HOW-TO CONT’D
7. Open up that zipper and sew it into place on both sides.
8. Now that the zipper is intact, go ahead and sew together the remainder of this side of the skirt.
9. After feeling a little clumsy with the fabric scissors, I opted to snip off the remainder of a 1/4 inch seam allowance of sequins with cuticle scissors. This step takes a little while, but the clean edge it provides is well worth it.
10. Fold back 1/4 inch hem and pin it into place.
11. It’s a lot less messier if you put some paper down, so lay the skirt on top, and uncover only the area you want to spray with adhesive.  Let it dry.
12. Hand stitch 1/4 inch hem, remove pins, and then you are all set!