Tag: DIY

DIY

Frugal-nomics DIY: Metal Chain Necklace

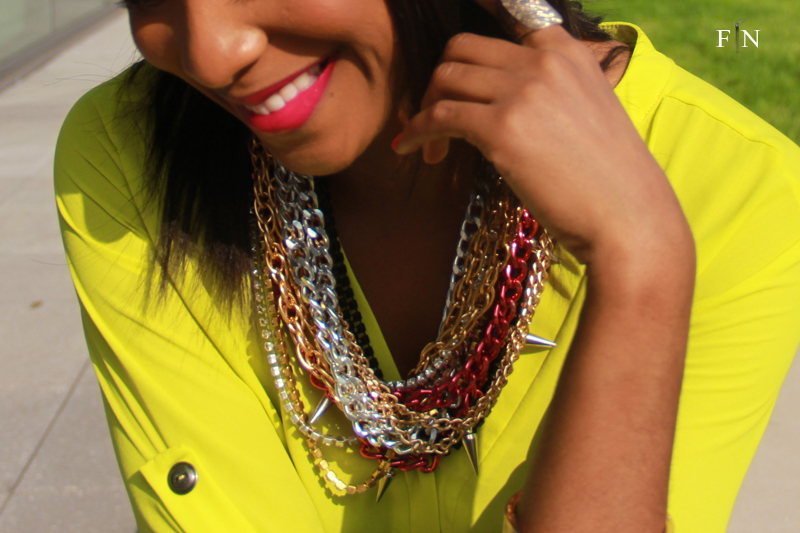
Gone are the days where you’re only allowed to wear one metal at a time.  With this necklace I was able to combine a bunch of my favorites….metal chain….spikes….a few crystals….all fun.   Throw caution to the wind and try this rocker chic favorite.   It’s bold. It’s functional….and it definitely stands out! Tell me how you’d pair it.


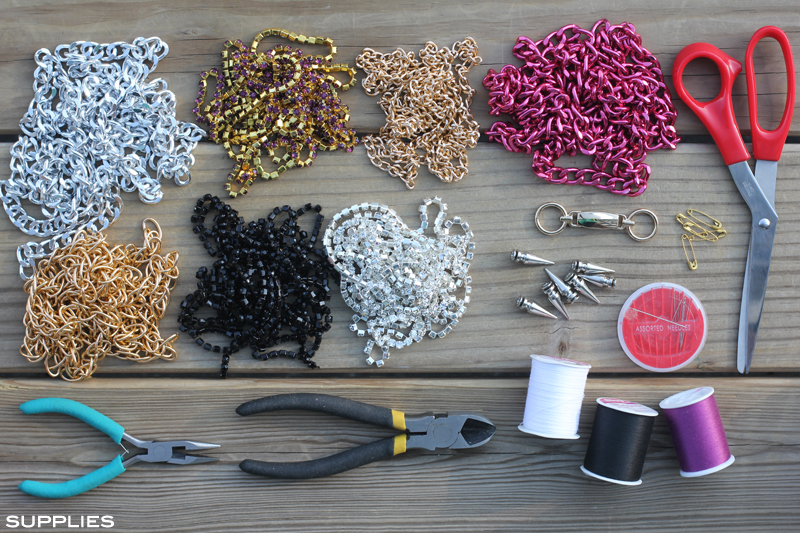
SUPPLIES: Assortment of metal chain, a closure, safety pins, spikes, needle and thread, needle nose pliers, and a pair of wire cutters.

HOW-TO: 
1. Take some wire cutters to make a break in the clasp — be sure to be careful not to do so at the bottom of the loop so as not to have chains slip off. Then pry the ring open with your pliers.
2. These chains are really easy to attach to the master ring, but the crystalized chain requires as extra step.  So, use a matching thread to stitch together the ends of the crystalized chains.
3. Add a safety to ends of the chains that don’t rings. Remember, you’ll cut all your chain the same length; taking into account those chains that have safety pins.
4. Take one strand of the pink chain and add 7 equally spaced spikes.  (Note: Feel free to add a dab of glue inside the spike’s end cap if you feel you need extra security).
5. Add all of your chains to one side of the closure ring (Note: Ok, so its really easy to get the chains a little jumbled, so I laid them out to keep them all organized.
6. Collect the group of chains, add them to the second closure ring on the opposite side, and give the group a twist. Keep the pink chain with studs and the two strands of black chain, separate.
7. Keeping the single pink strand with studs and the black chain straight (no twisting here), add them also to the closure ring on the opposite side and close the second ring.
DIY

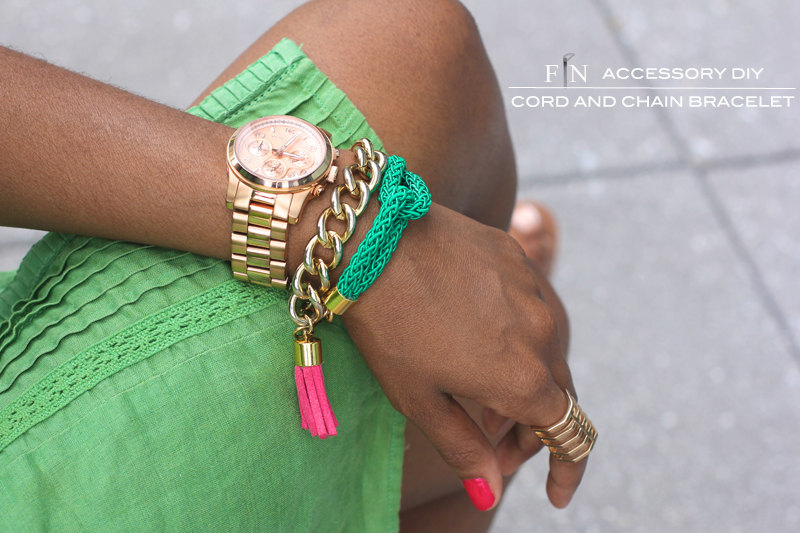
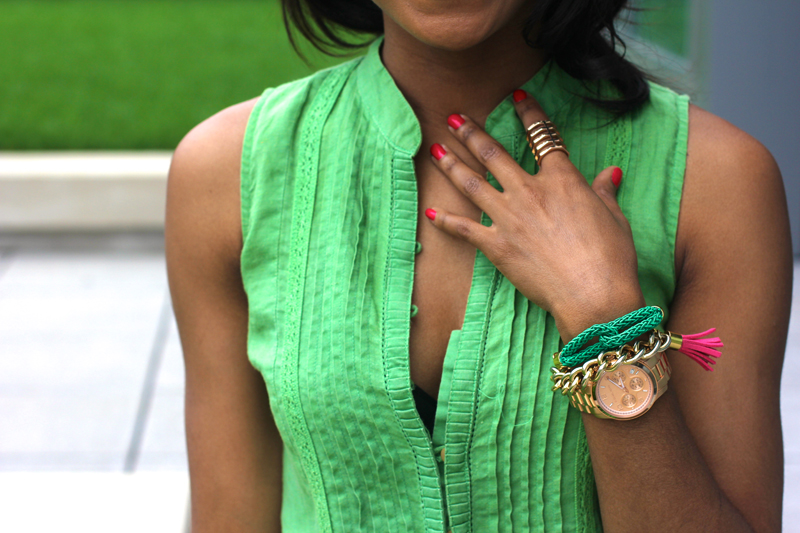
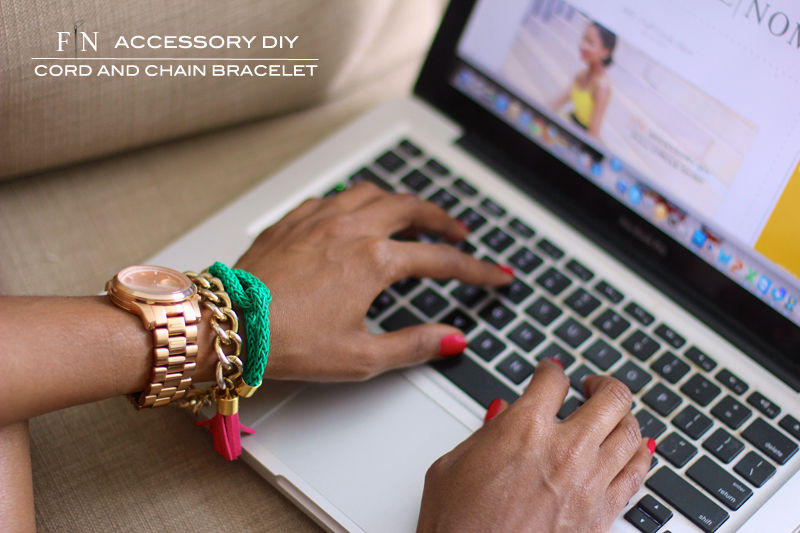
Frugal-nomics DIY: Cord and Chain Bracelet

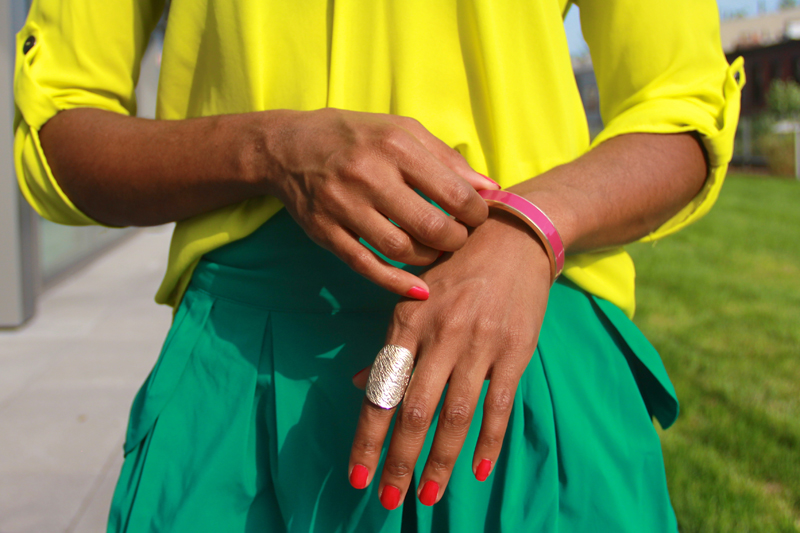
This summer I’ve been making more jewelry to mix and match with different looks.  And I gotta say, nothing beats the pride in saying you made it yourself when others tell you they like it.  Definitely more pieces to come. Tell me what you’re proud that you made in the comments below.


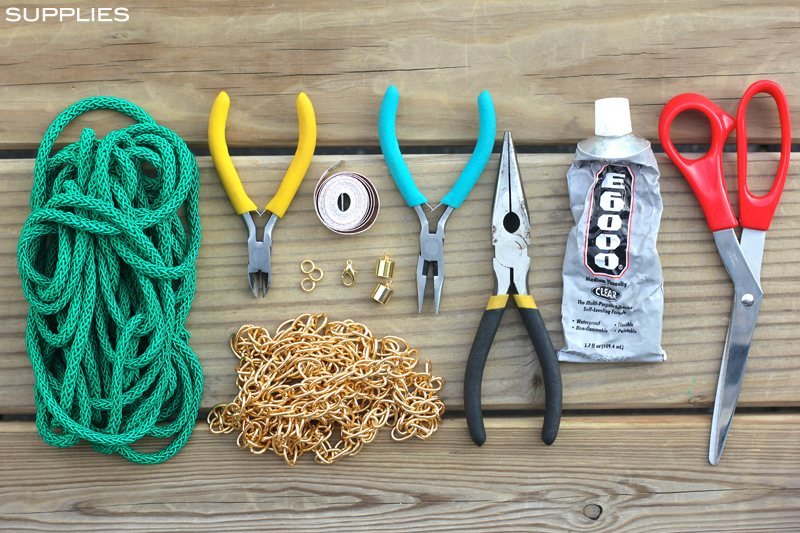
SUPPLIES: Metal chain, colorful cord, 2 pair of pliers, a tape measure, wire cutters, 3 jump rings, lobster clasp, 2 end caps, e6000, and scissors.


HOW-TO:
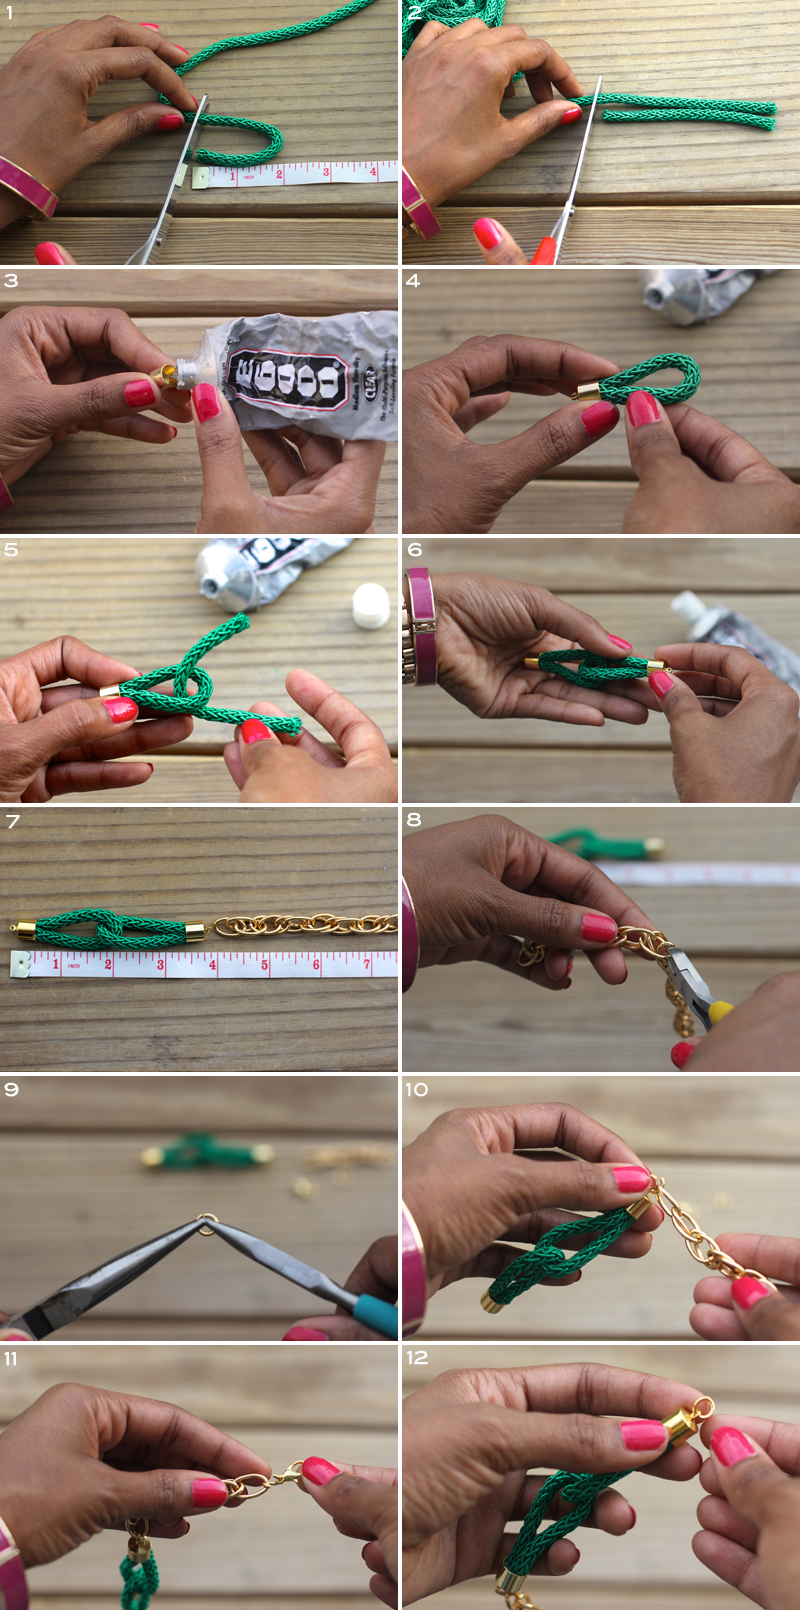
1. First you have to decide what length you want your bracelet.  I want mine to be about 7 inches in total, so the cord part of the bracelet will be about 4 inches (both halves 2 inches each). Go ahead and cut the first piece.
2. Cut a second piece equal in length.
3. Squeeze half a cap full of glue into the end cap (be careful not too add too much, you don’t want it to ooze out onto the cord).
4. Fold the first piece of cord in half and squeeze both ends into the end cap.
5. Slip the second piece of cord through the loop of the first cord.
6. Now, repeat Step #3 with the second cord.
7. To complete my 7 inches, I’ll need about 2.5-3 inches of chain.
8.With wire cutters, cut the desired length of chain.
9. With both pair of pliers, carefully open up 3 jump rings.
10. Take one jump ring and place it on one end of your cord connection, then attach your chain and close the jump ring.
11. At the end of this chain, add one more jump ring and a lobster clasp, and then close that jump ring.
12. On the opposite end of the cord connection, add a final jump ring, close that one up….and you’re all set.


DIY

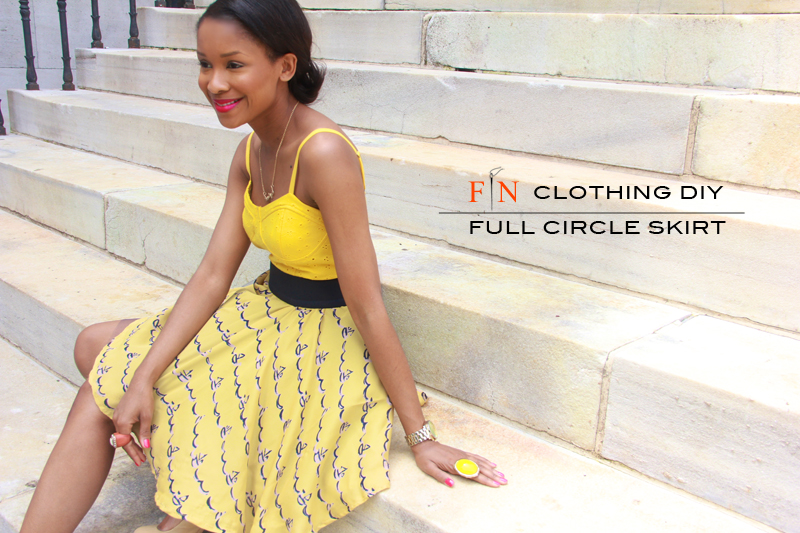
DIY: Full Circle Skirt

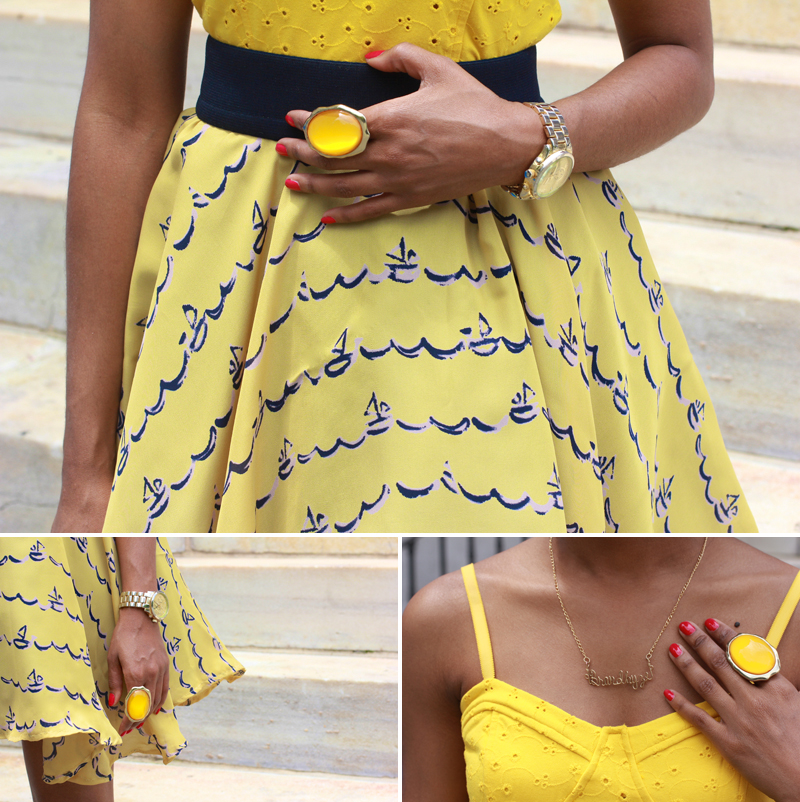
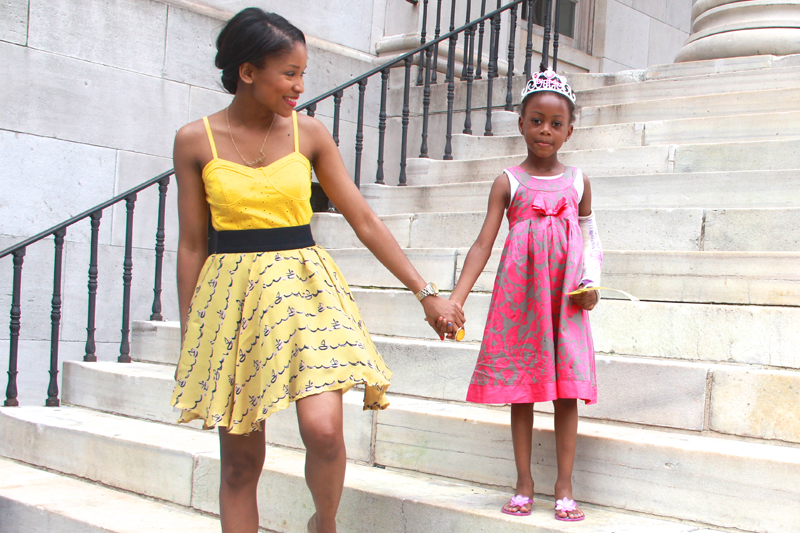
I was recently inspired by a Jean Paul Gaultier for Target dress that my girlfriend wore as a skirt (here’s a pic of another blogger, Rachel Thillen wearing it)–I mean, it was bold, it was sexy, and it was fun.  So, I just had to create my own. It was then that I came across this sailboat printed material, and instantly knew I’d found the perfect palette — matched it with some tulle for volume, and I was on my way.  Tell me what you think below!


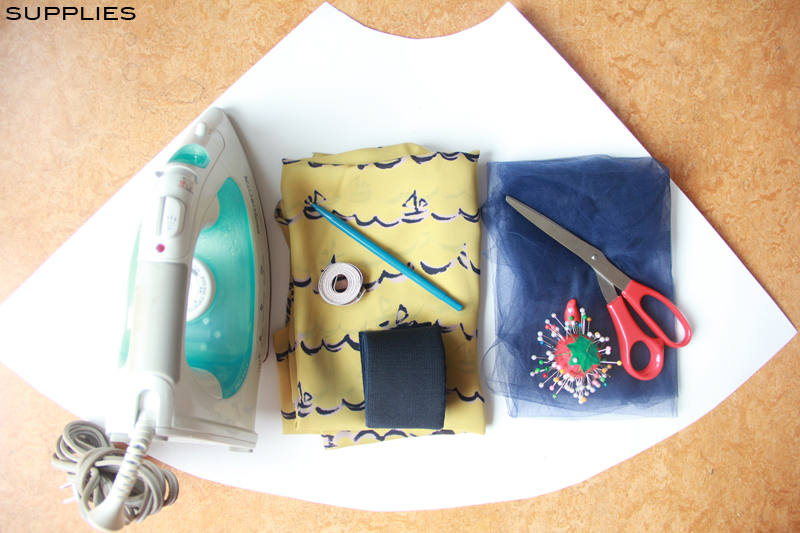
SUPPLIES: Iron, charmeuse  (about 2.5 yards), 2-inch elastic band (depends on length of waist; I used about 2.5 feet), tape measure, pen, tulle (about 3 yards) , straight pins, scissors, cardboard, and a sewing machine.


HOW-TO:
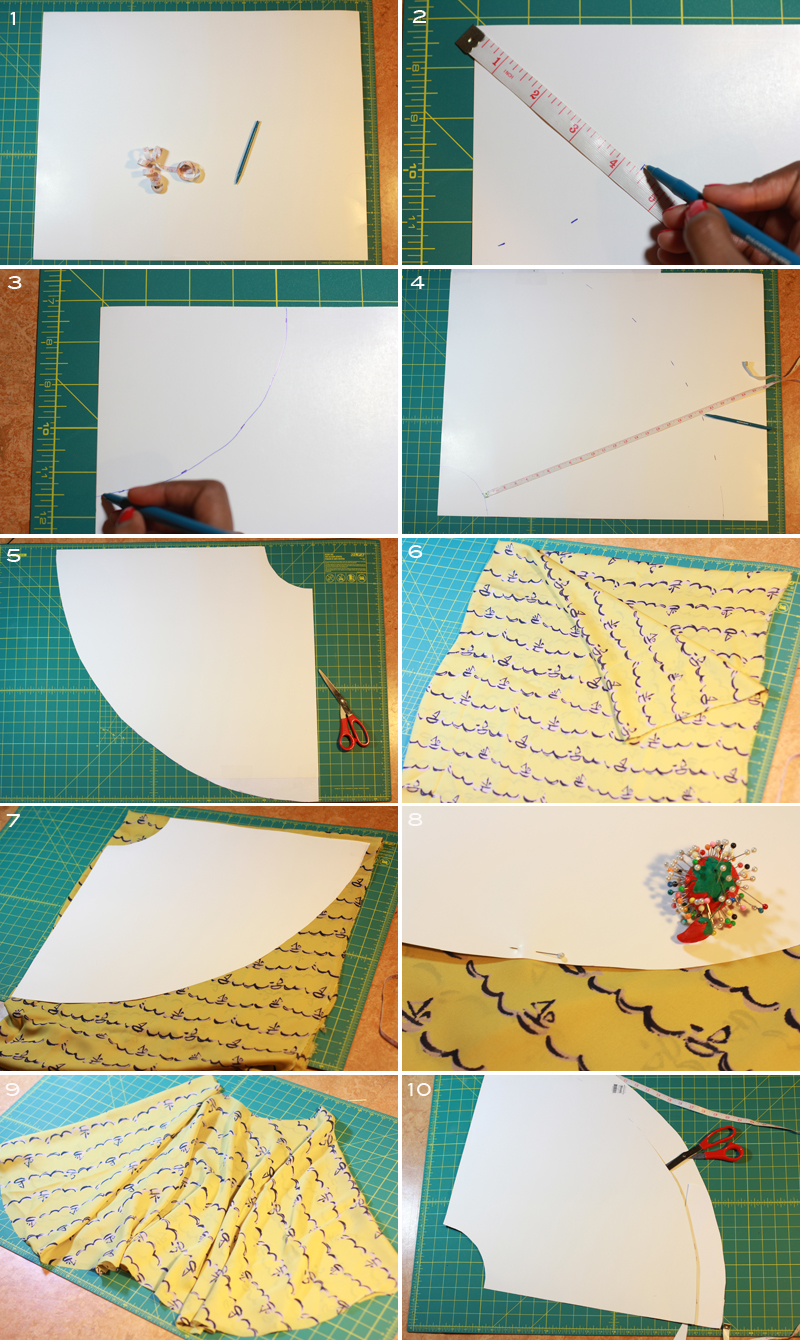
1. You;ll need to make a pattern; so take your tape measure, pen, and card board to create your own for your skirt.
2. Next, go ahead and decide the length of your waist by using this equation (don’t worry…it’s really easy): (waist length + 2 inches)/(6.28).  Note: For example, my equation was (25 + 2)/6.28 = 4.299.  Then starting at the corner of your cardboard, take that number (mine was about 4 1/3 inches) and measure it out from one edge, to the other.
3. Connect your dots.
4. Decide the length of your skirt (Mine was about 18 inches). Make sure you are cognizant of the width of your fabric, or you may wind up having to do what I did and tape some extra paper onto your cardboard to complete your pattern.  Measure the 18 inch (or whatever length you decide) line like you did in Step #2, from the line you previously created.
5. Cut out your cardboard triangle.
6. Fold your fabric in half, and then in half again.
7. Place your cardboard pattern on top of your fabric (Note: in my picture, the fold is across the top, and down the left hand side).
8. Since the charmeuse is such a slippery fabric, it may help you to pin the cardboard pattern to the folded fabric.
9. Cut out the form — this is what it looks like when you are finished.
10. Now that you’ve cut your skirt out, you don’t need that original pattern, so you can now use the cardboard cut out to create the pattern for the tulle skirt.  (Note: in my picture I cut off about 2 inches, but wound up only needing one. So, my tulle skirt pattern was 17 inches).


HOW-TO CONT’D:
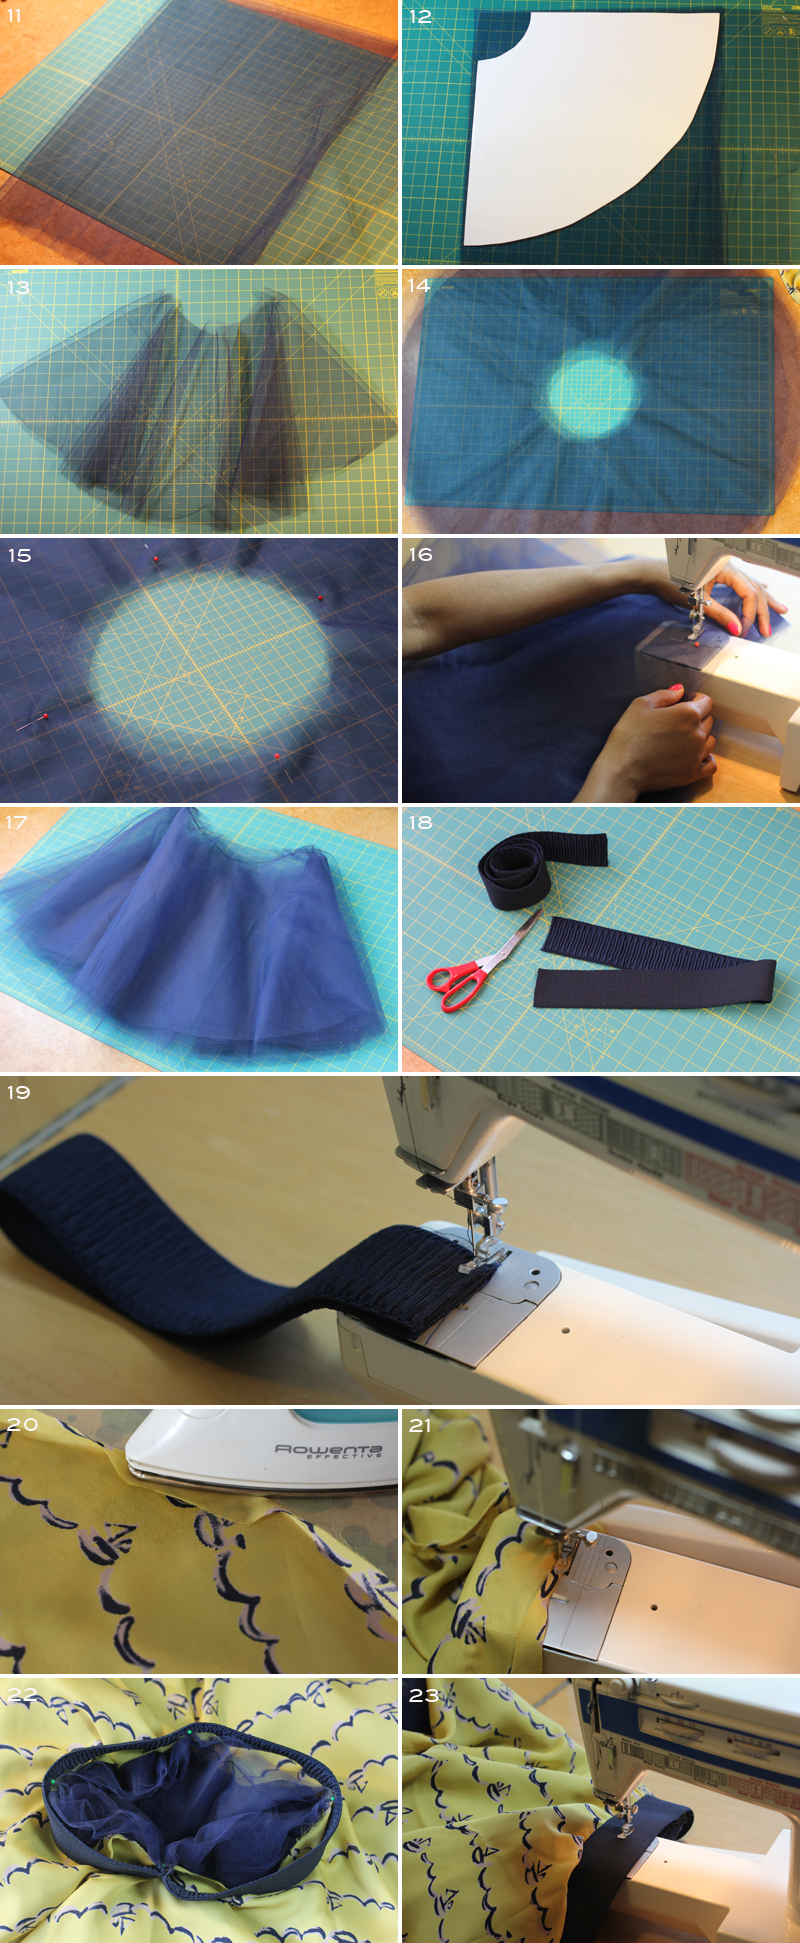
11. Fold your tulle in half, and then half again, like you did in Step #6.
12. Remember, the folds in the picture are down the left side, and across the top. Cut out the form (Remember, this time it’s 17 inches in length).
13. It will look like this once you’ve cut it out….I individually cut out 6 of them.
14. Lay all 6 forms out on top of each other, being careful to line up the middle circle as best as you can.
15. Using straight pins to secure the form at its north, south, east, and west points.
16. Lay your 6 tulle forms on the sewing machine, and sew one continuous stitch around the top of the waist.
17. It will look like this once you are done sewing.
18. Cut out a piece of elastic the length of your waist plus 2.5 inches (so you can get it over your hips).
19. I want the flat side exposed, so turn the elastic right sides together, and stitch it.
20. Iron a 1/4 seam allowance all the way around.
21. Go ahead and sew the hem.
22. Now, take the waist of your skirt, and your elastic band (right sides out) and secure the skirt to the inside of the elastic. I pinned it initially in 4 spots — the north, south, east, and west points.  After pinning these four points, I then added more pins all the way around the waist band.
23. Sew the band to the skirt….and you’re all set!

While shooting this post, I seemed to have attracted a little fan in the park who also liked my skirt. Her name was Alexis, and the following day was her birthday, so I thought it only befitting to include her 🙂