Author: frugal-nomics

DIY

Frugal-nomics DIY: Stella and Dot Inspired Pegasus Necklace

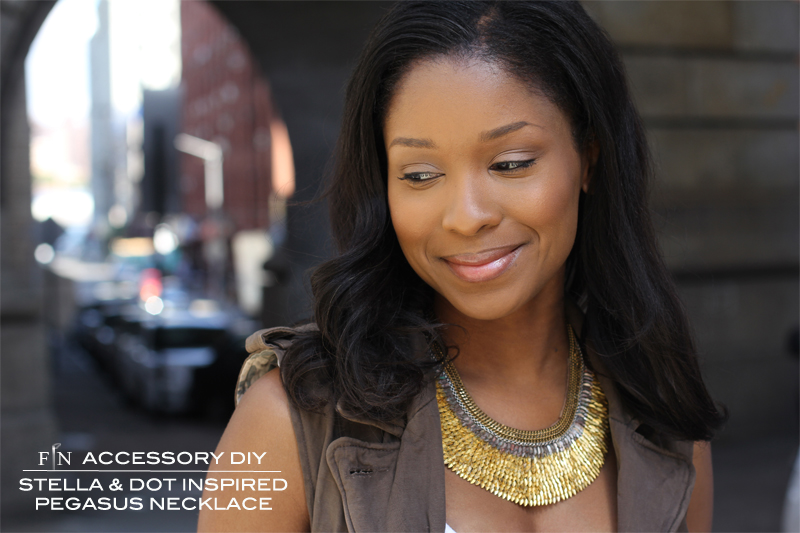
I’ve gotta admit that I’ve had a jewelry crush on the Stella and Dot Pegasus Necklace for a couple years now, and while I believe in investing in a few really nice statement necklaces, I couldn’t bring myself to cough up the over $200 price tag they were asking. So, me not minding to put the work in when it’s something I want, I took to finding suitable leaves to begin my jewelry quest to create a Stella and Dot Pegasus Knockoff. I was so very excited to complete it, and I’m happy to say that I get soooo many compliments on this when I wear it — and I do wear it quite often.  Gotta a necklace you’re crushing on? Tell me below. Of if you’ve been inspired by this one….please leave a comment too.


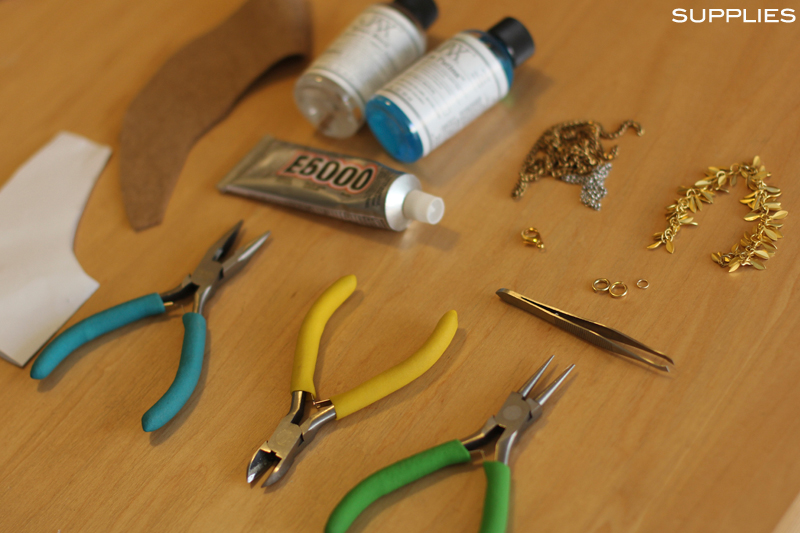
SUPPLIES: felt, patina, glue, assorted chain (I used 2 kinds), bulk folded leaf chain (I used about 6 feet — about 120 leaves come on each foot), 3 findings, a lobster clasp, tweezers, scissors, pliers, wire cutters, straight pins, a bowl, and paper to create the pattern for the shape of the necklace you desire.


HOW-TO:
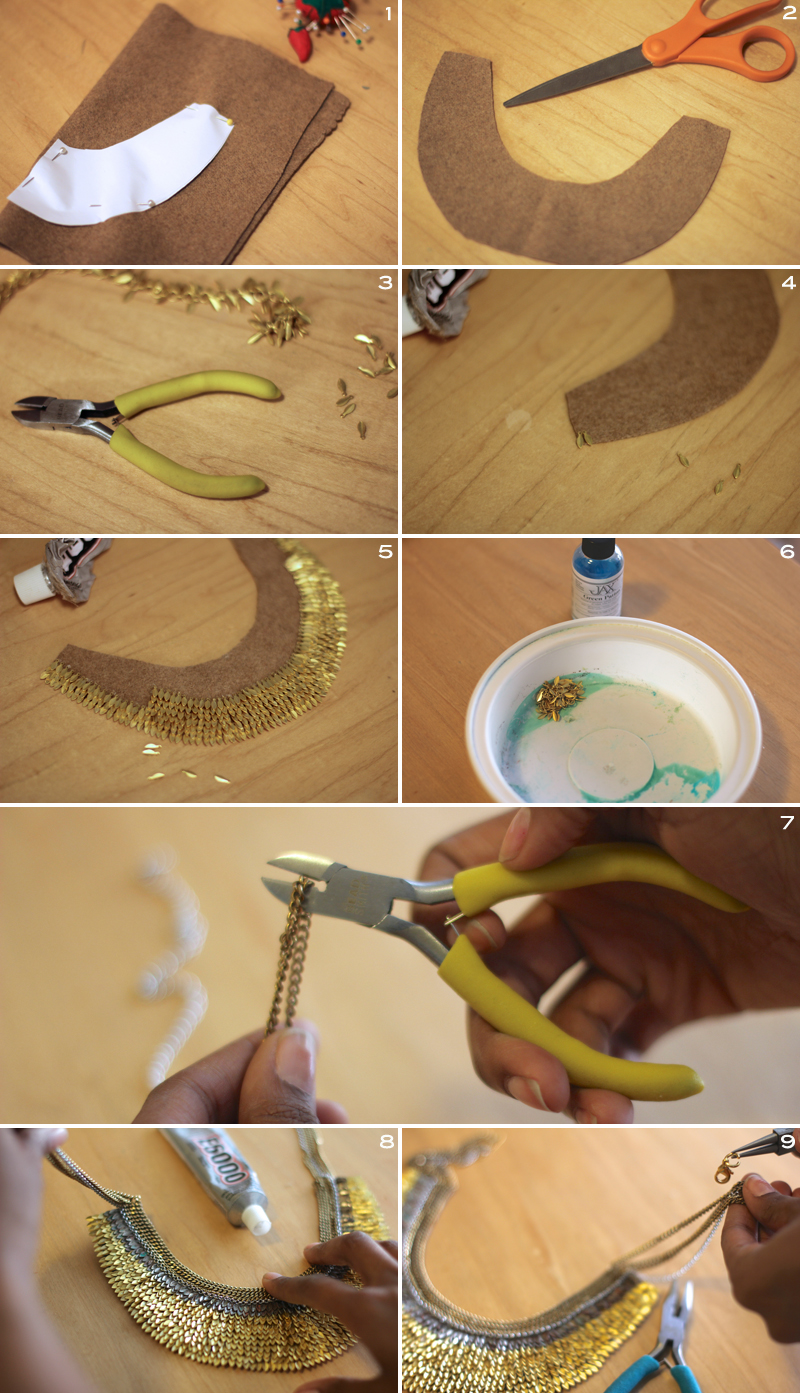
1.  Take a piece of paper and fold it in half, then cut out the shape of your desired necklace. After that…use your straight pins to attach your paper pattern to your folded in half felt.
2. Cut out this form.
3. The leaves will come on a chain, so take your wire cutters and remove them all from the chain.
4. Once all the leaves were removed from the chain, here I used my tweezers to lightly dip each leaf in the glue and then carefully adhere it to the wrong side of the felt.
5. I made long rows from left to right, being careful to visualize where my rows of leaves with patina and chain would begin.
6. Next I immersed about 155 leaves in a small bowl with green patina, and let it sit for a few hours. Once they reach my desired color of green, I rinsed them off, and then patted them dry before glued them to the felt.
7. Figure out how low you want your necklace to hang — mine is moderately close to my neck, then cut the 2 types of chain to your desired length.
8. Add a little glue to the exposed surface of felt, and press your chain into place.
9. Add a jump ring and clasp to one dangling side of your chain, and then pinch it closed. Repeat on opposite side with just a jump ring.
 

DIY

Frugal-nomics DIY: Sequin Bow Headband

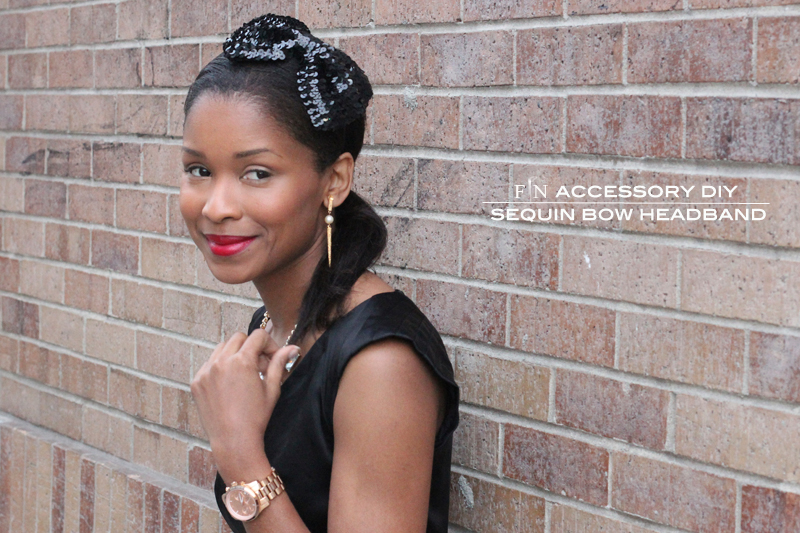
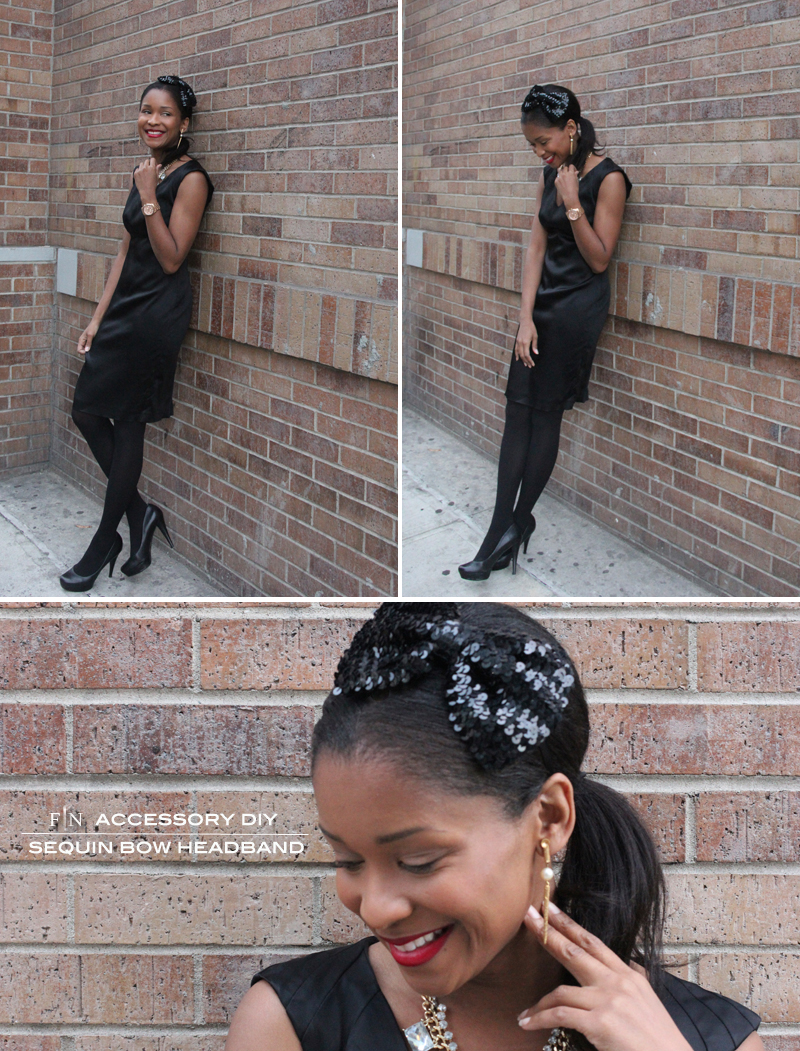
Shine, shimmer, sparkle….I’m all in (!) — and with the holidays just around the corner, you may want to incorporate all three into your winter ensemble.  Now, me personally, I don’t own a great deal of decorative hair accessories. But when I saw this sequin bow I knew I had to start a new trend for myself. So with a little glue, this fabulous sequin bow, and a spare headband, I am holiday ready – super quick, super fun, super chic…all in a flash!

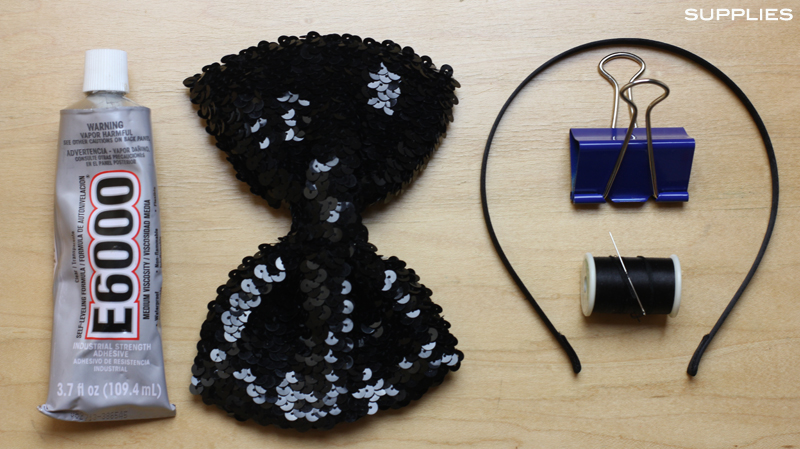
SUPPLIES: glue, sequin bow, headband, binder clip, and needle and thread.

HOW-TO: 
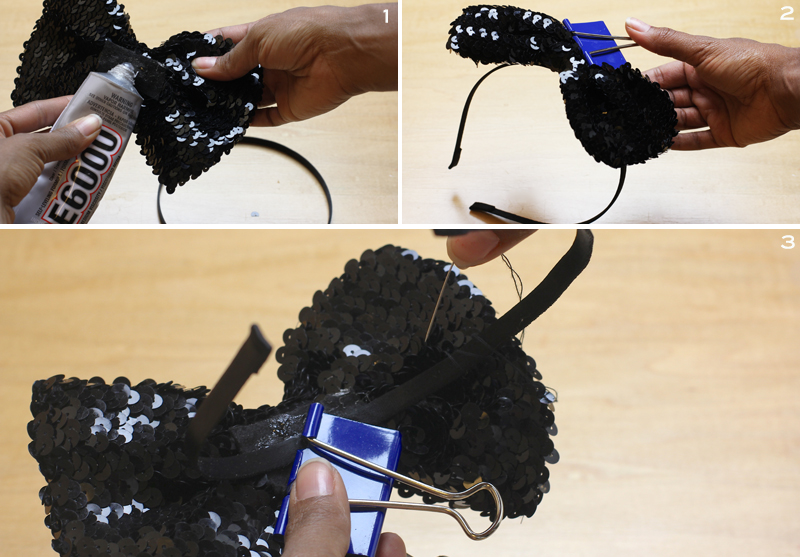
1. Add some glue to the back of your bow.
2. Adhere bow to your headband in the position you want it, and clamp it with the binder clip to let it dry for about an hour (Note: Add a piece of ribbon on the backside if you are concerned about any exposed glue touching your hair even after it drys).
3. Rather than let them stick up, I used a needle and thread to stitch the two flaps to the headband itself. Voila

DIY

Frugal-nomics DIY: Cashmere Cape Coat

Ok, so I’m going to let you in on a little secret — I’m a fairly newer sewer and my aspirations for a cape coat were a little ambitious. I mean in my mind this coat had great potential for being reversible — after all it worked for my tote bag)! Fabulous in and of themselves,  my fabric choices didn’t quite work together — I found along the way that my plaid tweed added bulk to the lighter cashmere side of the cape. So, I had to do what any good DIY’er would do and salvage the project.  I couldn’t let this beautiful cashmere go to waste?  So, as you follow along you’ll see I begin my step-by-step process with the tweed side, and eventually separate the two pieces after Step #9, and finish up with just the cashmere. Presto, mission complete! Want to see how I end up, take a look below….you’re in for a colorful and fun ride! 

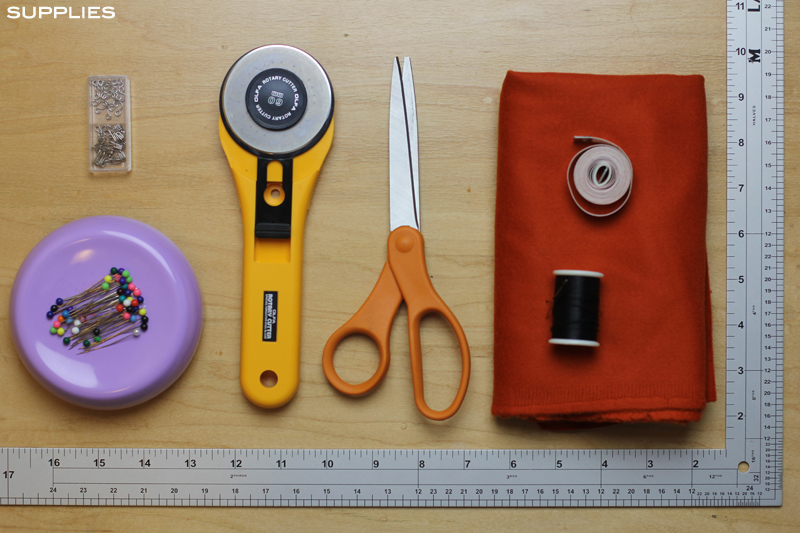
SUPPLIES: a hook and eye, some straight pins, rotary cutter, scissors, tape measure, needle and thread, 2 yards of cashmere, a straight edge, pattern (I used this one from Matter of Style), and your sewing machine.

HOW-TO:
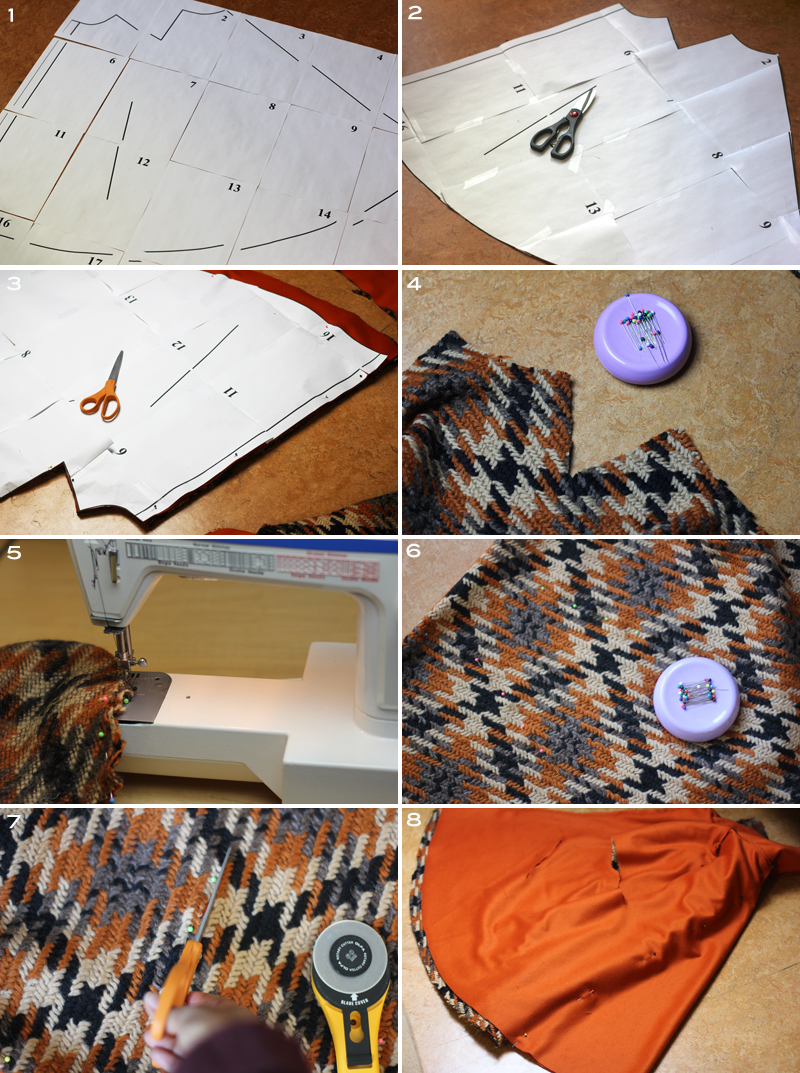
1. First thing you do is print out the pattern from here, and lay it out so you can see how it all fits together.
2. The printer margins make the pattern bigger than it has to be, so I folded back the unnecessary parts, taped it together in the desired form, and then cut it all out.
3. Now pin your pattern to your fabric and then cut it out….it will look like this once you are done (I added a couple extra inches to the bottom of mine for good measure).
4. Use your straight pins to pin your shoulder dart.
5. Create your shoulder dart with your sewing machine.
6. Not sure if you can see the pink and green respective row of pins that I used to mark the arm holes and the pockets, but go ahead and decide where you want those and pin it. (Note: In hindsight, in the future I’d probably follow the pattern and make vertical armholes and nix the pockets altogether).
7. Use your scissors and rotary cutter to make the incision and cuts for your pockets and armholes.
8. I wanted mine to fit a little closer to the body than the pattern allowed, so I made a dart down the back from the collar to the hem.

HOW-TO CONT’D:
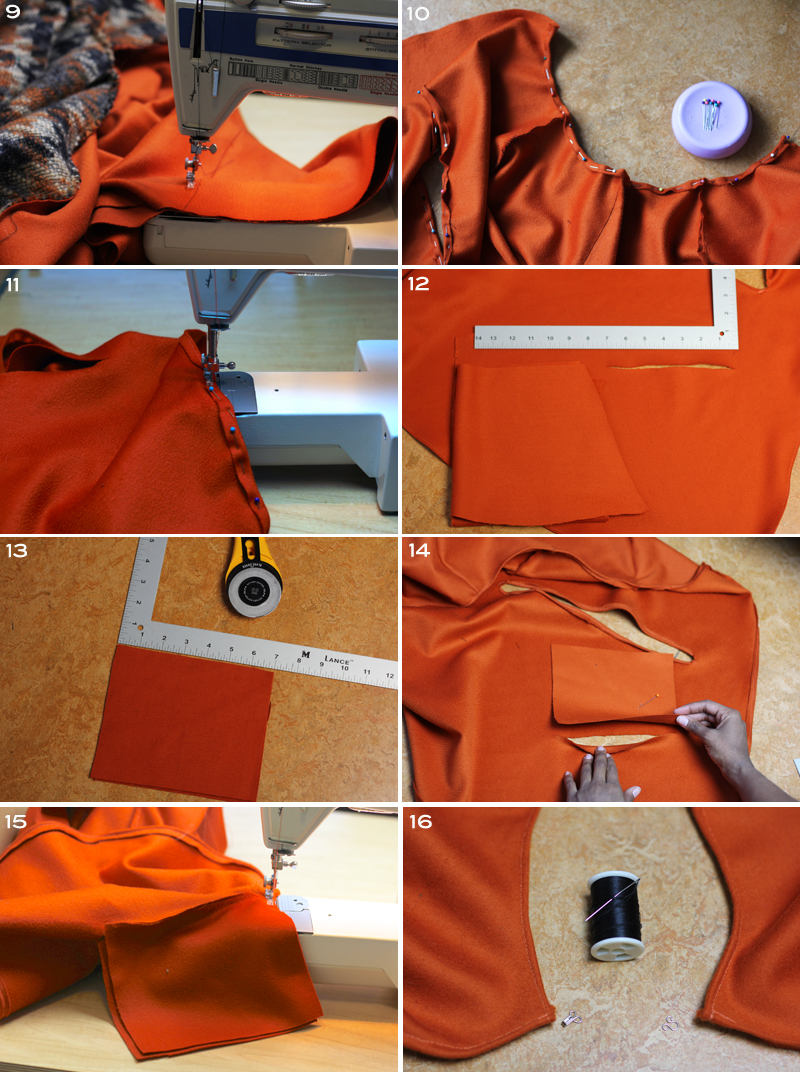
9. Sew the two darts you created together and cut off the excess.
10. Use your straight pins to create a finished hem around the neckline, pockets, armholes, bottom, and edges along both sides of the front of the coat.
11. Using a 1/4 inch seam allowance, go ahead and hem everything up with your sewing machine.
12. Now it’s time for the pockets…..measure out a square for the length and depth you want your pockets to be that will line up with the incisions that you made for it.
13. Once you decide how wide you want your pockets, double up your fabric and cut out four squares this size.
14. Now it’s time to pin your pockets into place, so first hold down the bottom flap of your pocket, and take your first pocket square and place it right side facing down. Now pin it in place to this bottom flap, and repeat on the opposite side with the top flap (Note: You want the finished fabric to be visible if you were to look inside your pocket).
15. Sew your pockets on, and finish off the edges with your machine.
16. Last step, hand stitch your hook and eye to the upper corners of your two front panels, as a closure. You’re all done!