 DIY
DIY
Frugal-nomics DIY: Varsity Letter Sweatshirt
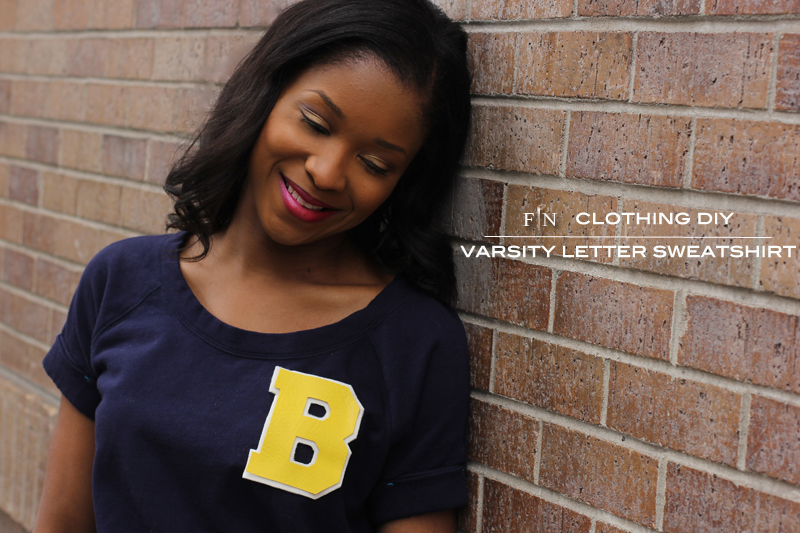
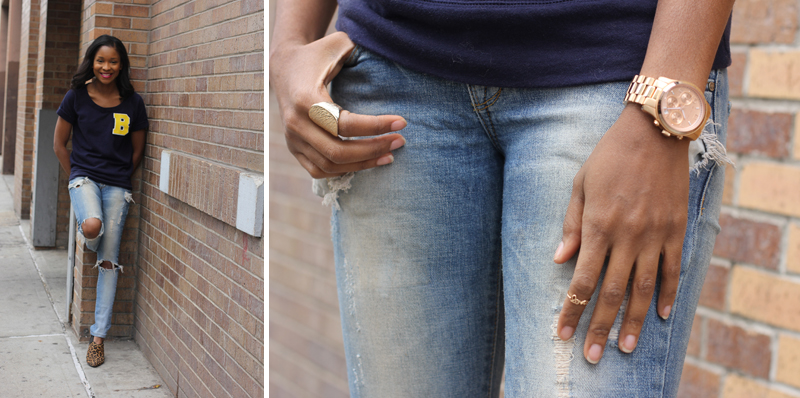
Rihanna has been rocking them; Jessica Alba too….and I even have one packed away somewhere in a dusty box in my parent’s garage. What am I talking about? The whole varsity craze. Varsity jackets are hugely popular right now and cropping up everywhere, so I decided to drum up a bit of nostalgia in a quick and easy DIY, and make a Varsity Letter Sweatshirt! The key to the whole look is the boxed lettering, so once I had that down pat, rather than using chenille (which requires a special machine…I thought I’d try some boucle fabric, but it wasn’t quite what I was going for), I used a little faux leather and wool to complete just as cool of a look. Tell me…still have your jacket? Comment below.

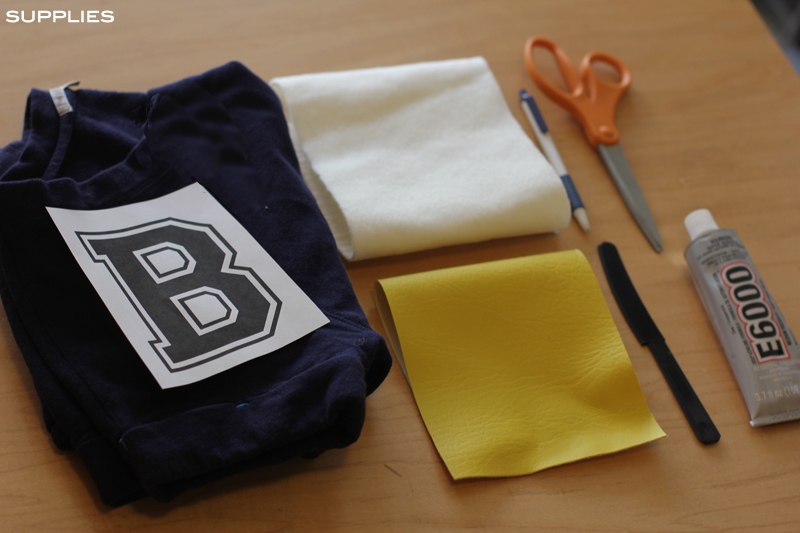
SUPPLIES: old sweathshirt (I got this Gap one for .75 cents at a thrift store), Varsity Font on your computer (which you can download here), some white wool, faux leather, a pen, scissors, e6000 glue, and a plastic butter knife (optional) for spreading.

HOW-TO:
In just 8 easy steps, you will be on your way in no time:
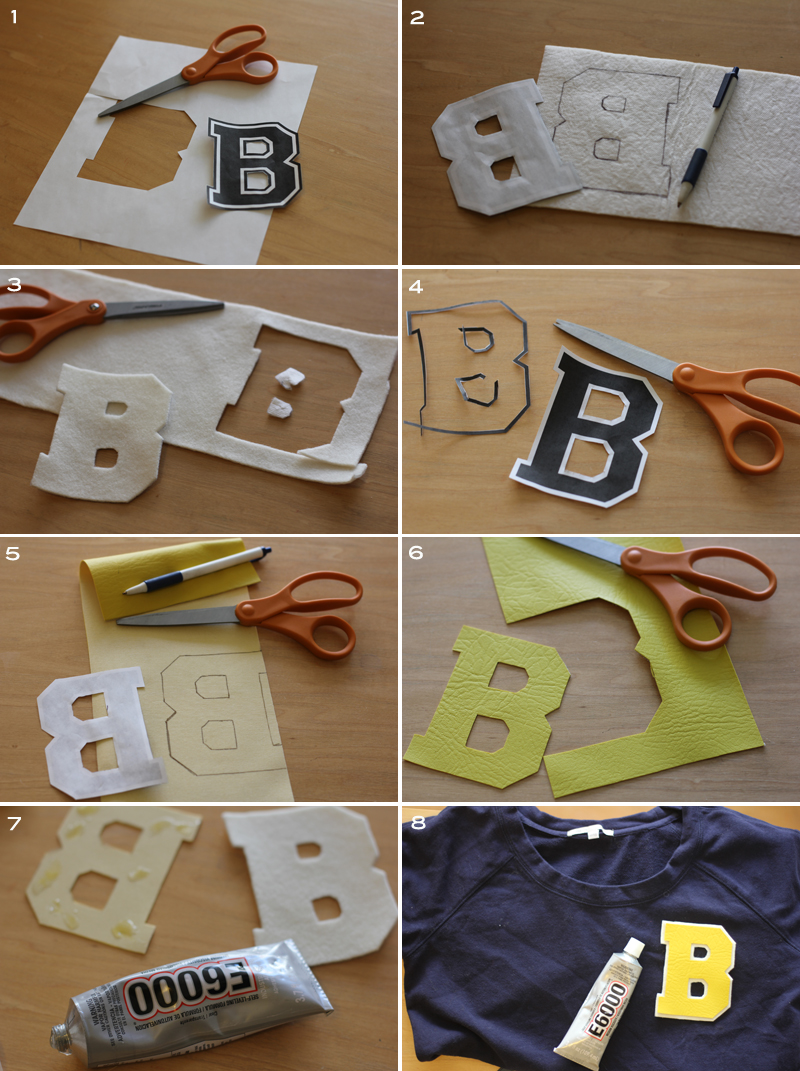
1. Pick your desired letter using the font provided here, print it on about a quarter of a page, and cut it out.
2. Once you’ve done this, go ahead and flip your white wool and your letter over, and trace your now backwards letter to the back of the wool (that way when you cut it out in the next step, your letter is facing the correct way on the wool).
3. Now cut out the letter you traced.
4. The cool thing about the font I found, was that it comes with a few different outline — making creating the different layers of the varsity letter, easy. So now you’ll want to cut away the first (black) outline.
5. Repeat Step #2 with your now smaller letter — this time you’ll use your faux leather.
6. Cut out this new letter.
7. Add a little glue to the back of your letter (Note: I had a new bottle and it was a little messy, so feel free to use a butter knife, and don’t forget to use the glue in a well ventilated area).
8. Place your faux leather letter on top of the wool one, then place both in your desired area on your sweatshirt, and allow it all to dry for a few hours. Now, it’s ready to wear!


