 DIY
DIY
DIY
DIY
 DIY
DIY
Shine, shimmer, sparkle….I’m all in (!) — and with the holidays just around the corner, you may want to incorporate all three into your winter ensemble. Now, me personally, I don’t own a great deal of decorative hair accessories. But when I saw this sequin bow I knew I had to start a new trend for myself. So with a little glue, this fabulous sequin bow, and a spare headband, I am holiday ready – super quick, super fun, super chic…all in a flash!


SUPPLIES: glue, sequin bow, headband, binder clip, and needle and thread.

HOW-TO:
1. Add some glue to the back of your bow.
2. Adhere bow to your headband in the position you want it, and clamp it with the binder clip to let it dry for about an hour (Note: Add a piece of ribbon on the backside if you are concerned about any exposed glue touching your hair even after it drys).
3. Rather than let them stick up, I used a needle and thread to stitch the two flaps to the headband itself. Voila

 DIY
DIY
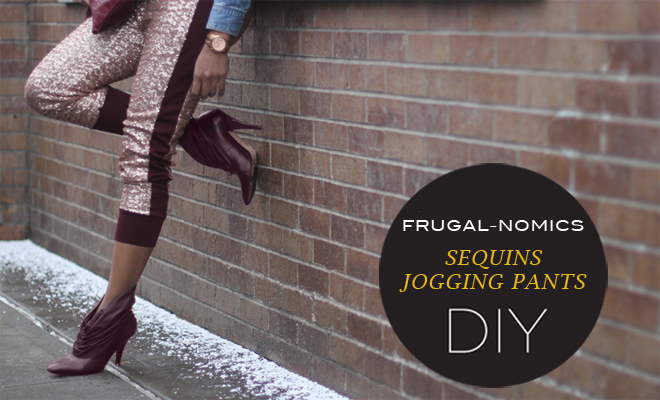
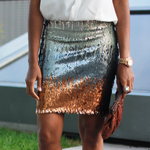
I’ve been totally snatching up anything sparkly these last few months, and I immediately fell in love with this ombre-like sequin fabric when I found it recently. I’ll admit, it takes a little work to finish the edges of things you make with sequins (like this Rihanna inspired top I made here), but they are certainly stand out pieces that will be memorable closet keepers. Tell me what you think below.


SUPPLIES: 1 yard of ombre sequin fabric, some straight pins, an invisible zipper, scissors, and a skirt you already own with a shape you like.
 HOW-TO:
1. First up, fold your fabric in half and lay a skirt you love on top of it to create your own pattern.
2. Now, go ahead and cut out the 2 forms of the pattern you just created.
3. Place those 2 forms together — insides facing — and pick the side where you’d like to place your zipper. Open up the two forms, and giving yourself a 1/2 inch seam allowance, pin the zipper on one side of the form, being sure to start close to the top of the waist band. (Note: I liked more of the rust color on the bottom, so I folded down quite a bit at the waist to center my desired design).
4. Once one side of the zipper is in place, go ahead and flip the skirt over and pin the 2nd half, down.
5. Close up the remainder of the zippered side of the skirt with straight pins.
6. It was easier for me pin the correct shape with the skirt on, so I slipped it on to pin the opposite side.

HOW-TO CONT’D
7. Open up that zipper and sew it into place on both sides.
8. Now that the zipper is intact, go ahead and sew together the remainder of this side of the skirt.
9. After feeling a little clumsy with the fabric scissors, I opted to snip off the remainder of a 1/4 inch seam allowance of sequins with cuticle scissors. This step takes a little while, but the clean edge it provides is well worth it.
10. Fold back 1/4 inch hem and pin it into place.
11. It’s a lot less messier if you put some paper down, so lay the skirt on top, and uncover only the area you want to spray with adhesive. Let it dry.
12. Hand stitch 1/4 inch hem, remove pins, and then you are all set!
