 DIY
DIY
DIY: Leather Envelope Laptop Case

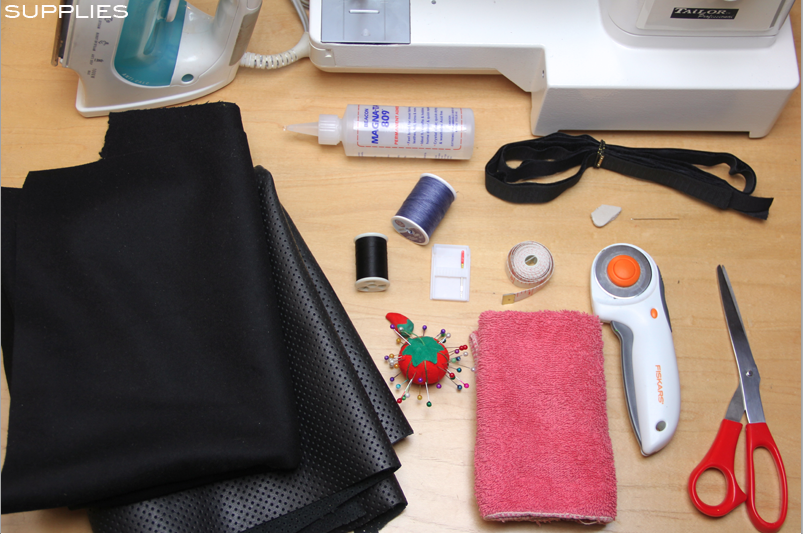
SUPPLIES: Leather, Fleece, Fabric Glue, Velcro, Heavy Duty Thread, Regular Thread, Upholstery Needle, Tape Measure, Needle, Rotary Cutter, Straight Pins, Wash Cloth, Scissors, Iron, and a Sewing Machine.

HOW-TO:
1. You are going to create two rectangles. For the first, pin a piece of leather and felt together, right sides facing each other. My Macbook Pro laptop is 13 in x 9 in (length x height), so I want to make this first rectangle 14 in x 17.5 in (Note: I added an inch to the length for the seam allowance, and then added 8.5 in to the height to account for the flap).
2. Cut it out.
3. Take the first rectangle which is 14 in x 17.5 in, and make a chalk mark 10.5 in from the bottom for the fold line.
4. Make a second mark one inch above the fold line (So it’s 11.5 in from the bottom).
5. To create my top flap, I made a chalk mark in the top center (For me, directly at 7 in).
6. I want the point of my flap to be 9 in in total, so I made a chalk mark 4.5 in on either side of the center line I created.
7. From the 11.5 in mark you made along the side, draw a diagonal up to the 4.5 in marks you made on the left and right side of the center mark.
8. Sew just around the edge of the top flap and about a half inch down the straight away of the sides.
9. Here’s what Step 8 looks like; now remove pins.
10. Turn this flap to the correct side.
11. Measure the desired length of the velcro, add glue, and adhere it to the inner flap.(Note: I add glue to hold it in place, and then later hand stitch it for added security, or sew it on with the machine with the regular thread).
12. Now you grab two more pieces of leather and felt, rights sides facing each other to create a second rectangle –this one will be 14 in x 10.5 in and will serve as the front of your laptop case.
13. Take this second rectangle and sew along the diagonal on one side as pictured (Note: Right sides are still facing together).
14. Step 13 will look like this.
15. Turn this second rectangle on the right side.
16. Take a damp wash cloth and lay it on both pieces to iron out any bulges.
17. Take the second rectangle and pin it to the front of the first rectangle (well…now, it’s more of a trapezoid); right sides together. Be sure to pin it 1/4 in below 11.5 in mark you made (So that’s in between fold line and this second line).
18. Sew the whole thing together on both sides and the bottom.
19. So you are certain you place bottom piece of velcro in just the right place; insert your laptop, stick bottom velcro onto top velcro every so lightly, apply glue, and press it into place. Let dry for a few minutes before removing laptop. Feel free to stitch it for added security.

:: Outfit ::
Jacket :: Zara
Tshirt :: No label (Thrifted)
Denim Chambray :: Uniqlo (Thrifted)
Jeans :: Banana Republic (Thrifted)
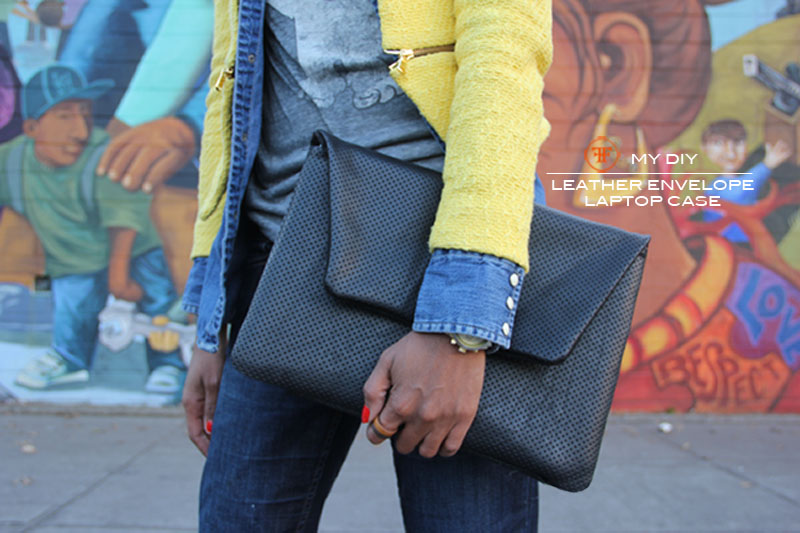
Envelope Laptop Case :: My creation
Rings :: Aldo
Shoes :: Steve Madden


