 DIY
DIY
Frugal-nomics DIY: No Sew TuTu
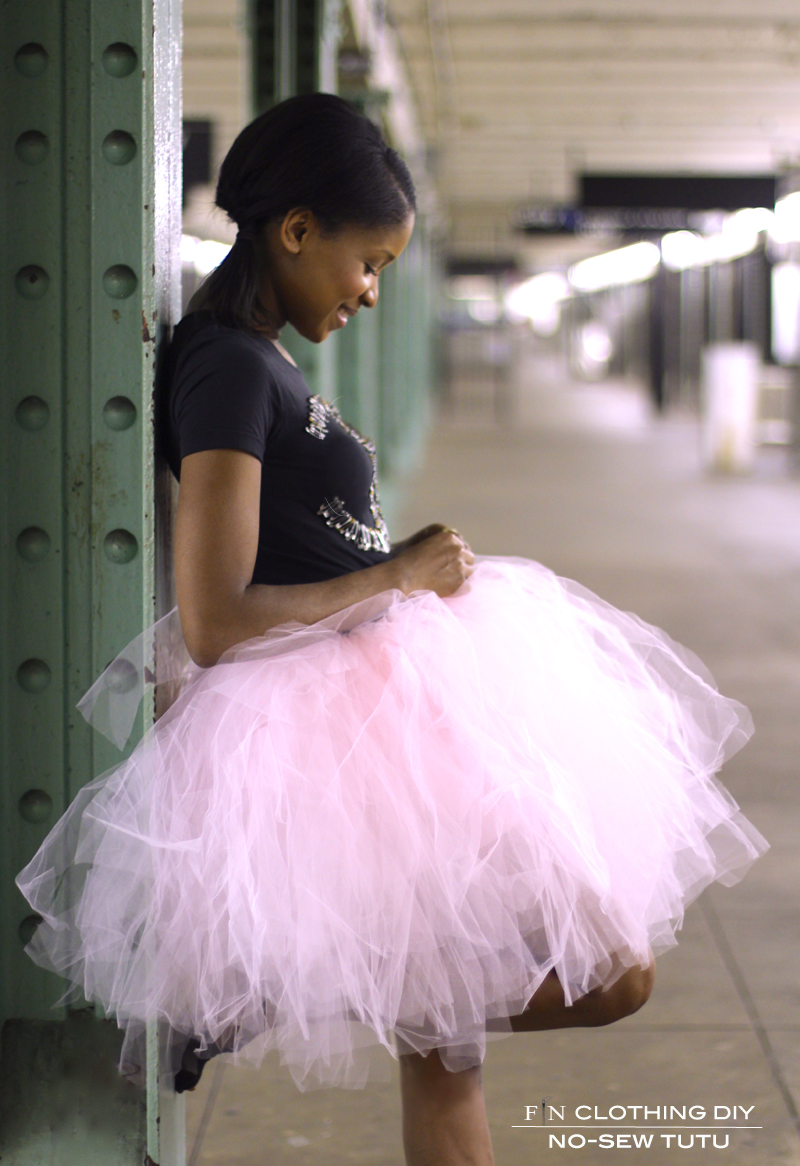
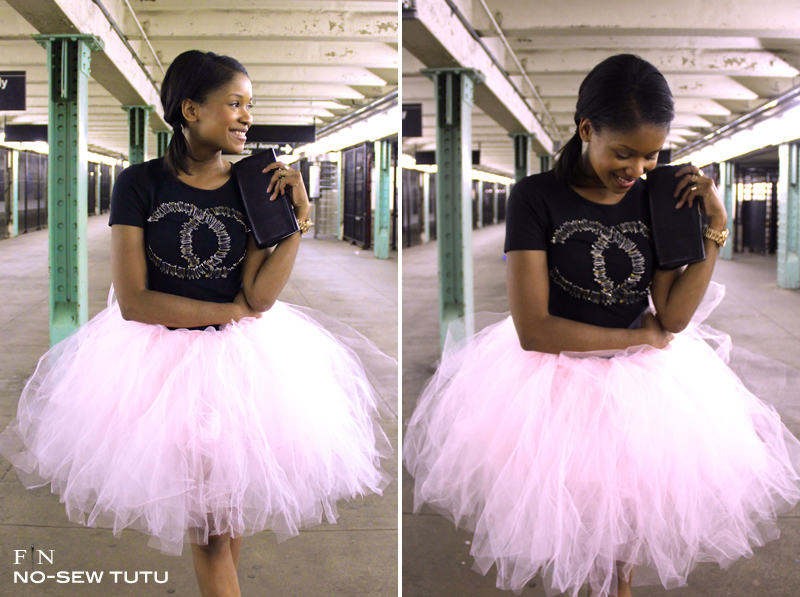
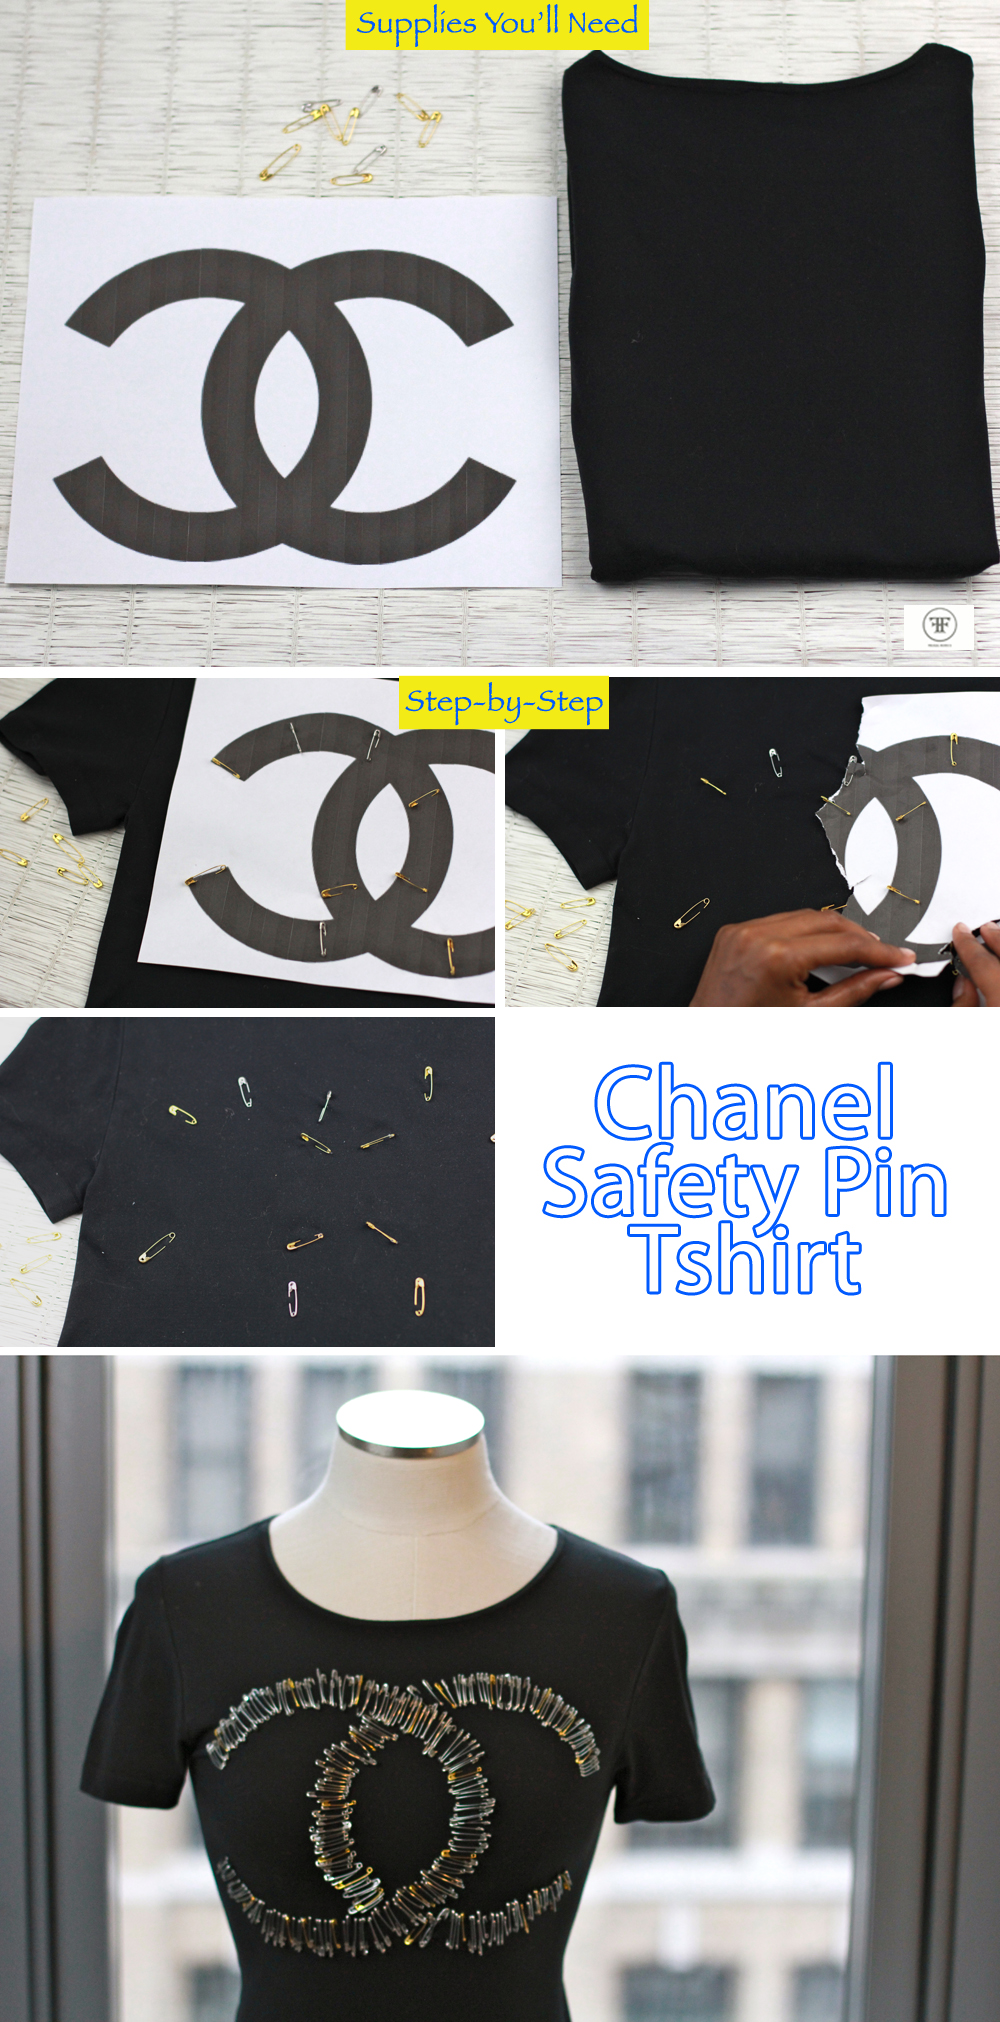
I live near a ballet studio that caters to kids, and as I pass by the window while the little girls are often rehearsing…I can’t help but to admire how absolutely adorable they look in their tutus. While I personally never took up ballet as a kid….doesn’t every girl wanna twirl around in a big poofy skirt? So, go ahead….channel your ballerina — an homage to Carrie Bradshaw if you will. I wore mine with my Chanel Safety Pin Shirt that I made here. Here’s a no sew tutu tutorial that will help you get the look in no time!
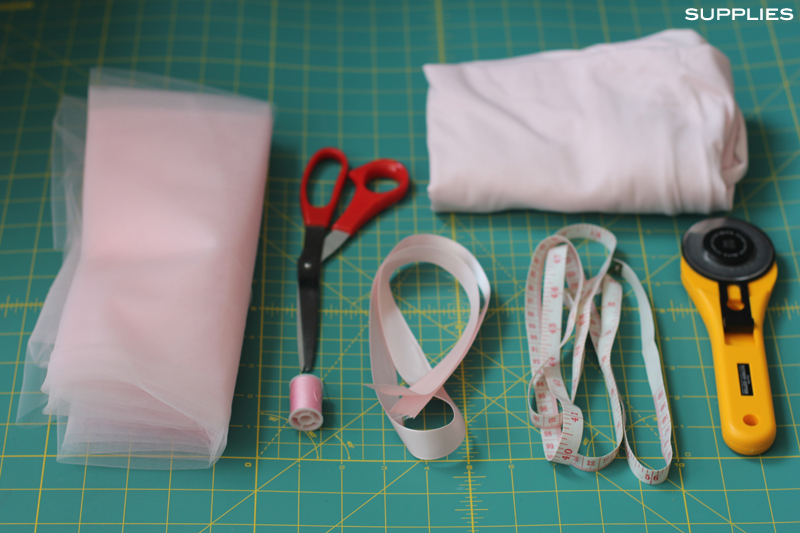 SUPPLIES: Tulle (I used about 20 yards…but feel free to use less, just depends on density of skirt you are looking for), scissors, 1/2 yard of jersey knit, needle and thread, 2 yards of satin ribbon, tape measure, and a rotary cutter.
HOW-TO:
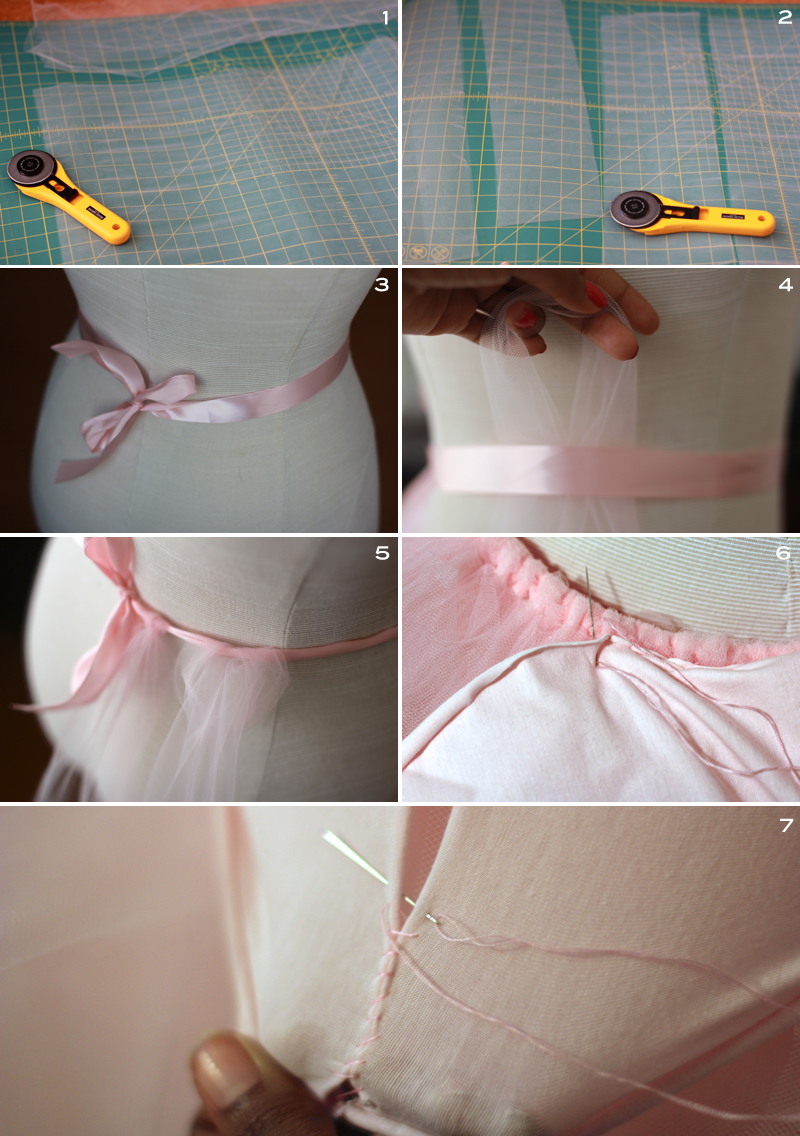
1. Wanting my skirt to be knee length, I folded the tulle in half because it was too wide. I then opted to stretch it out and cut off about 9 inches off the open bottom (not the folded side) all the way across.
2. After you do this….you are all ready to cut your folded tulle into 4-5 inch strips — feel free to eyeball it. (Note: I didn’t know I’d need so much tulle. I first bought 8 yards and cut it up into strips, but wound up going back for about 14 more yards just to be safe).
3. Cut a piece of ribbon about 4 feet long and tie it around your mannequin (Note: Don’t have a mannequin? No problem, just take a seat and stretch it around your knees).
4. Take each one of your strips and pull it up through your ribbon and mannequin to create a loop.
5. Pull the loose ends of the ribbon up through the loop you’ve created with the ribbon, and pull taught.
6. After you’re done adding tulle, now it’s time to create a faux skirt to go underneath. (Note: I cut a piece of my jersey knit about 13 inches wide and 45 inches long). Flip your tutu over and re-tie it to your mannequin, and begin stitching the “lining” to the waist band of the tutu.
7. I started my “lining” right at the ribbon closure, so I could end there as well. Once, I got back around where I started, I hand stitched the “lining” only half way up the back– that way I can get in and out of the skirt. Voila! You are all done — no sewing machine needed.
